Quickstart Guide
In this guide we lead you through a quick, step-by-step example of how to run your first payroll using Zeal's pre-build white-label components. Even if you plan to build fully using the API, this guide gives you a high-level view of how the payroll system works.
If you haven't already, check out our Introduction to Payroll Runs before continuing with this guide. It gives a conceptual overview of how payroll runs work with Zeal's system.
In this guide
- How to onboard a Company (employer).
- How to add a Work Location.
- How to onboard an Employee.
- How to set up and submit a Payroll Run.
Onboarding a Company
Zeal represents employers in our system as Companies. A Company must first be onboarded before payroll can be run.
Navigate to your Partner Dashboard, ensure that Test Mode is enabled, then click Add company. In the modal that appears, click Copy onboarding link.
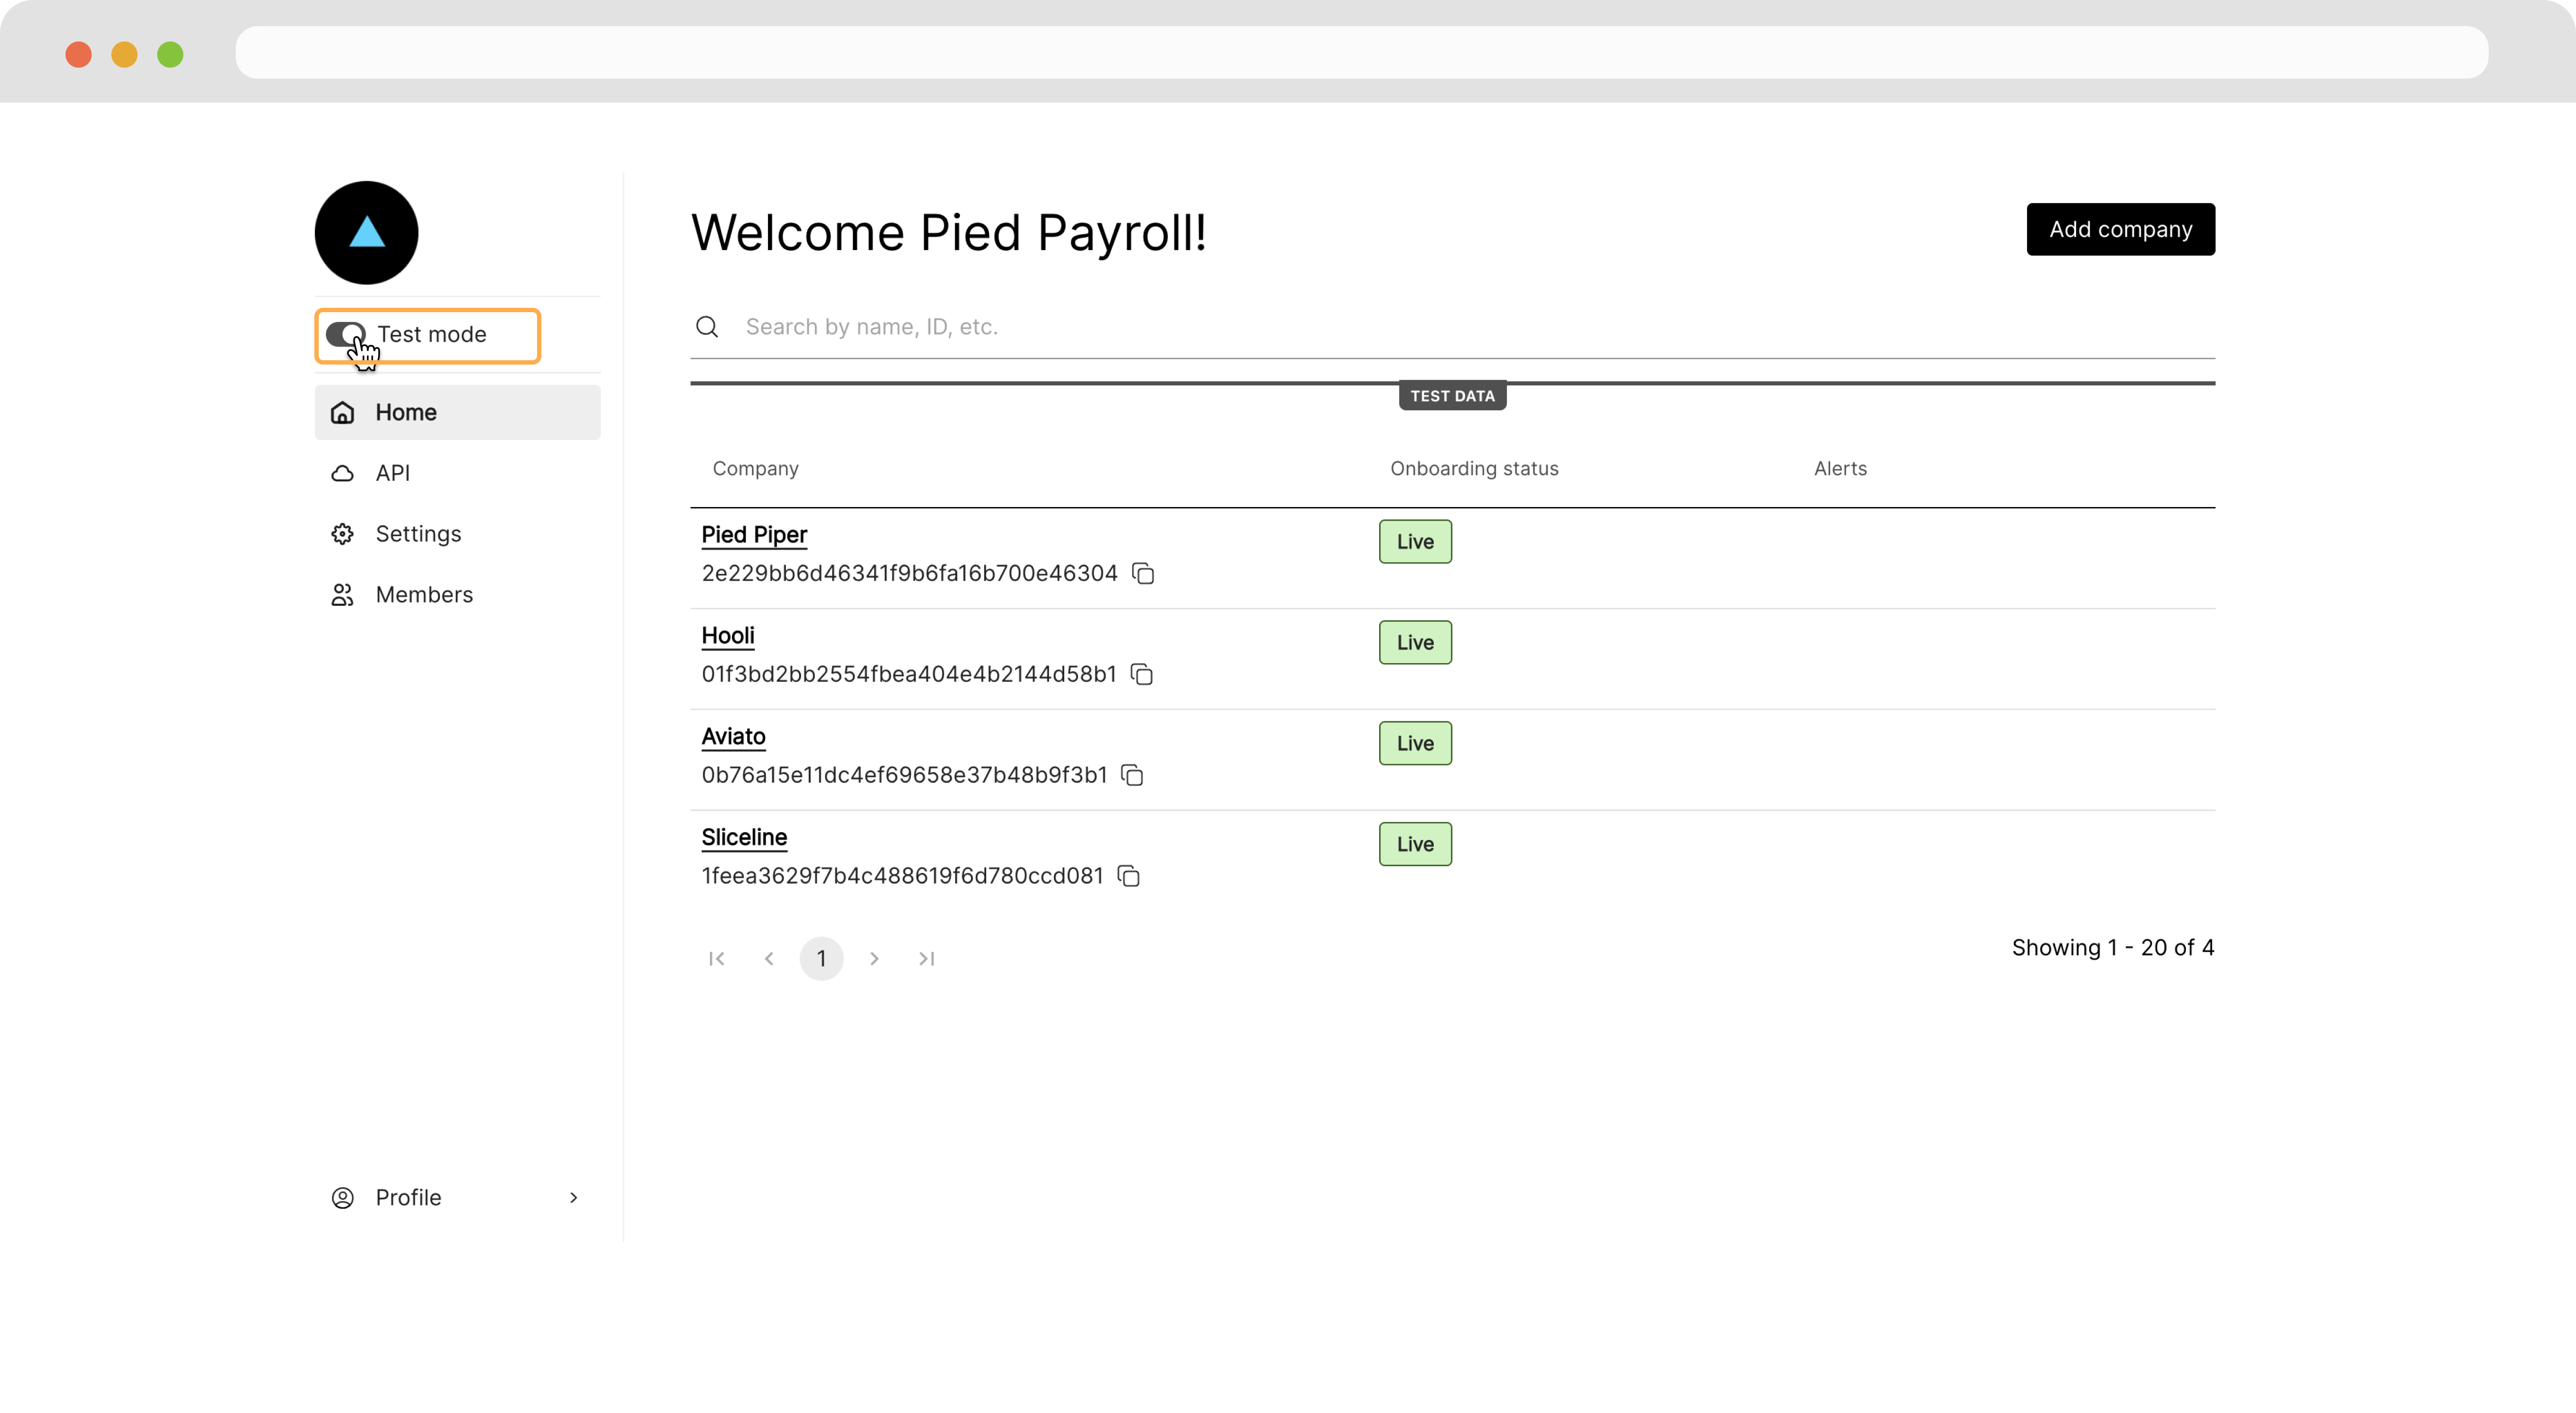
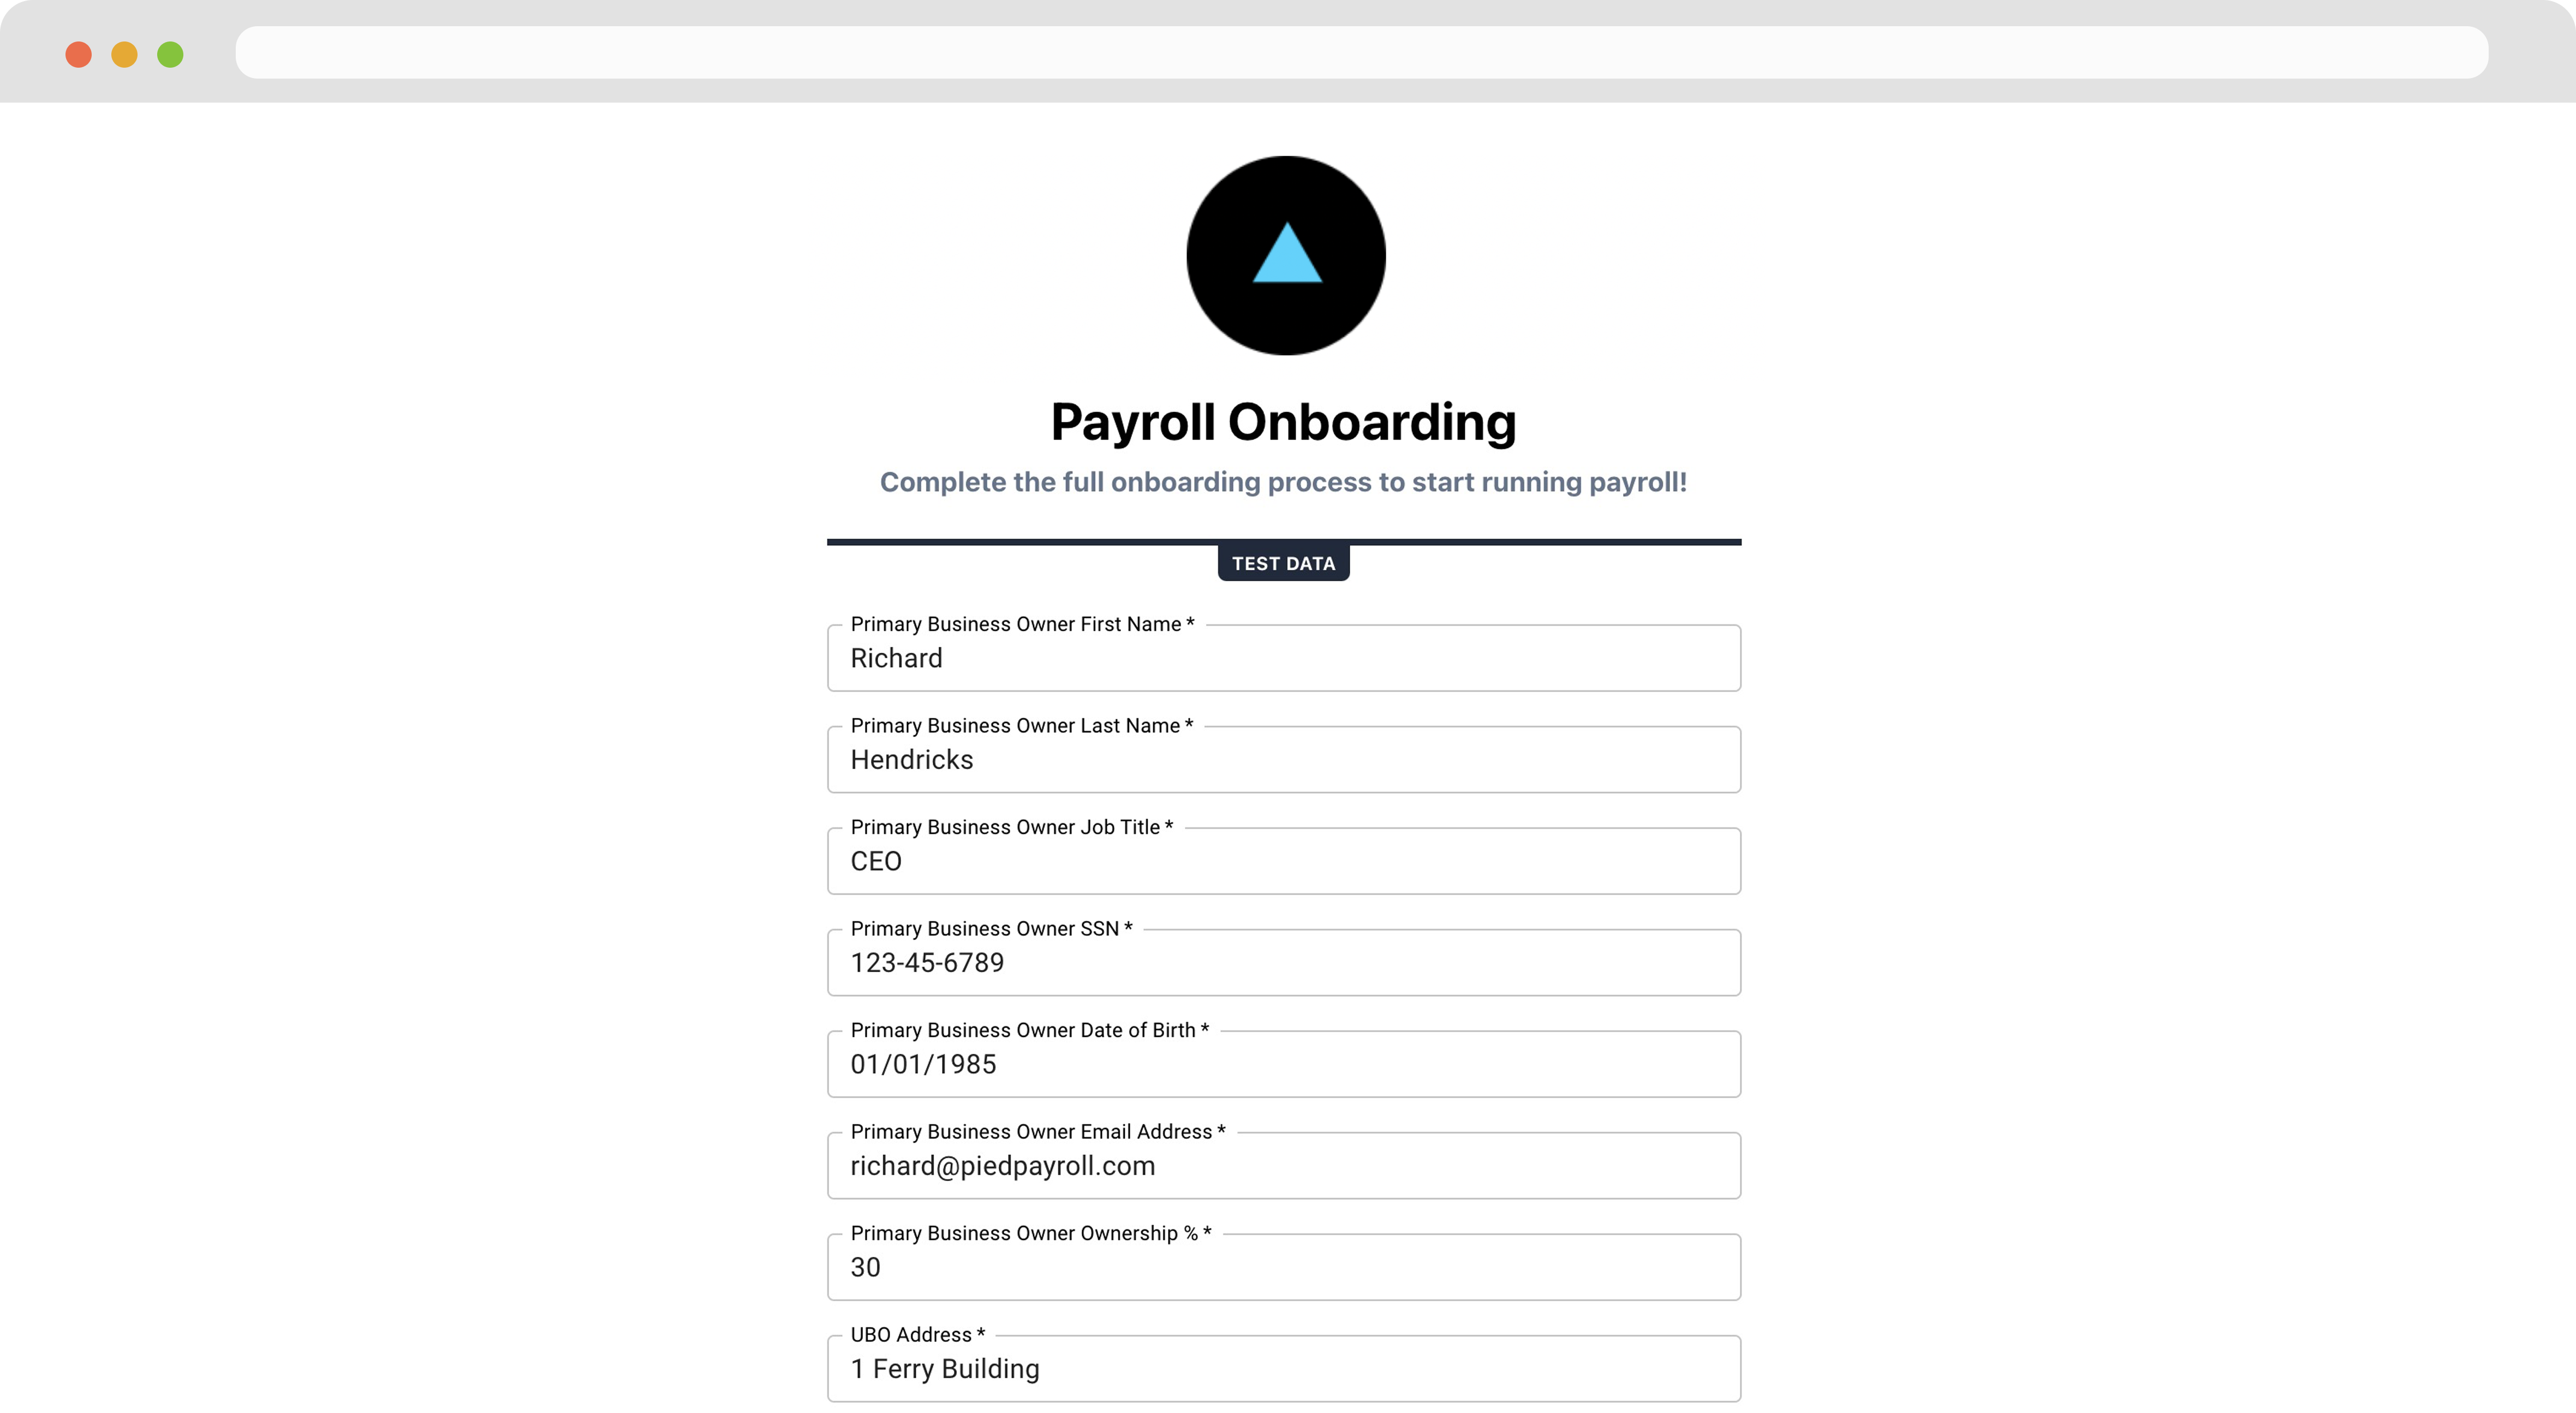
Paste the link in a new tab of your web browser, and complete the onboarding flow.
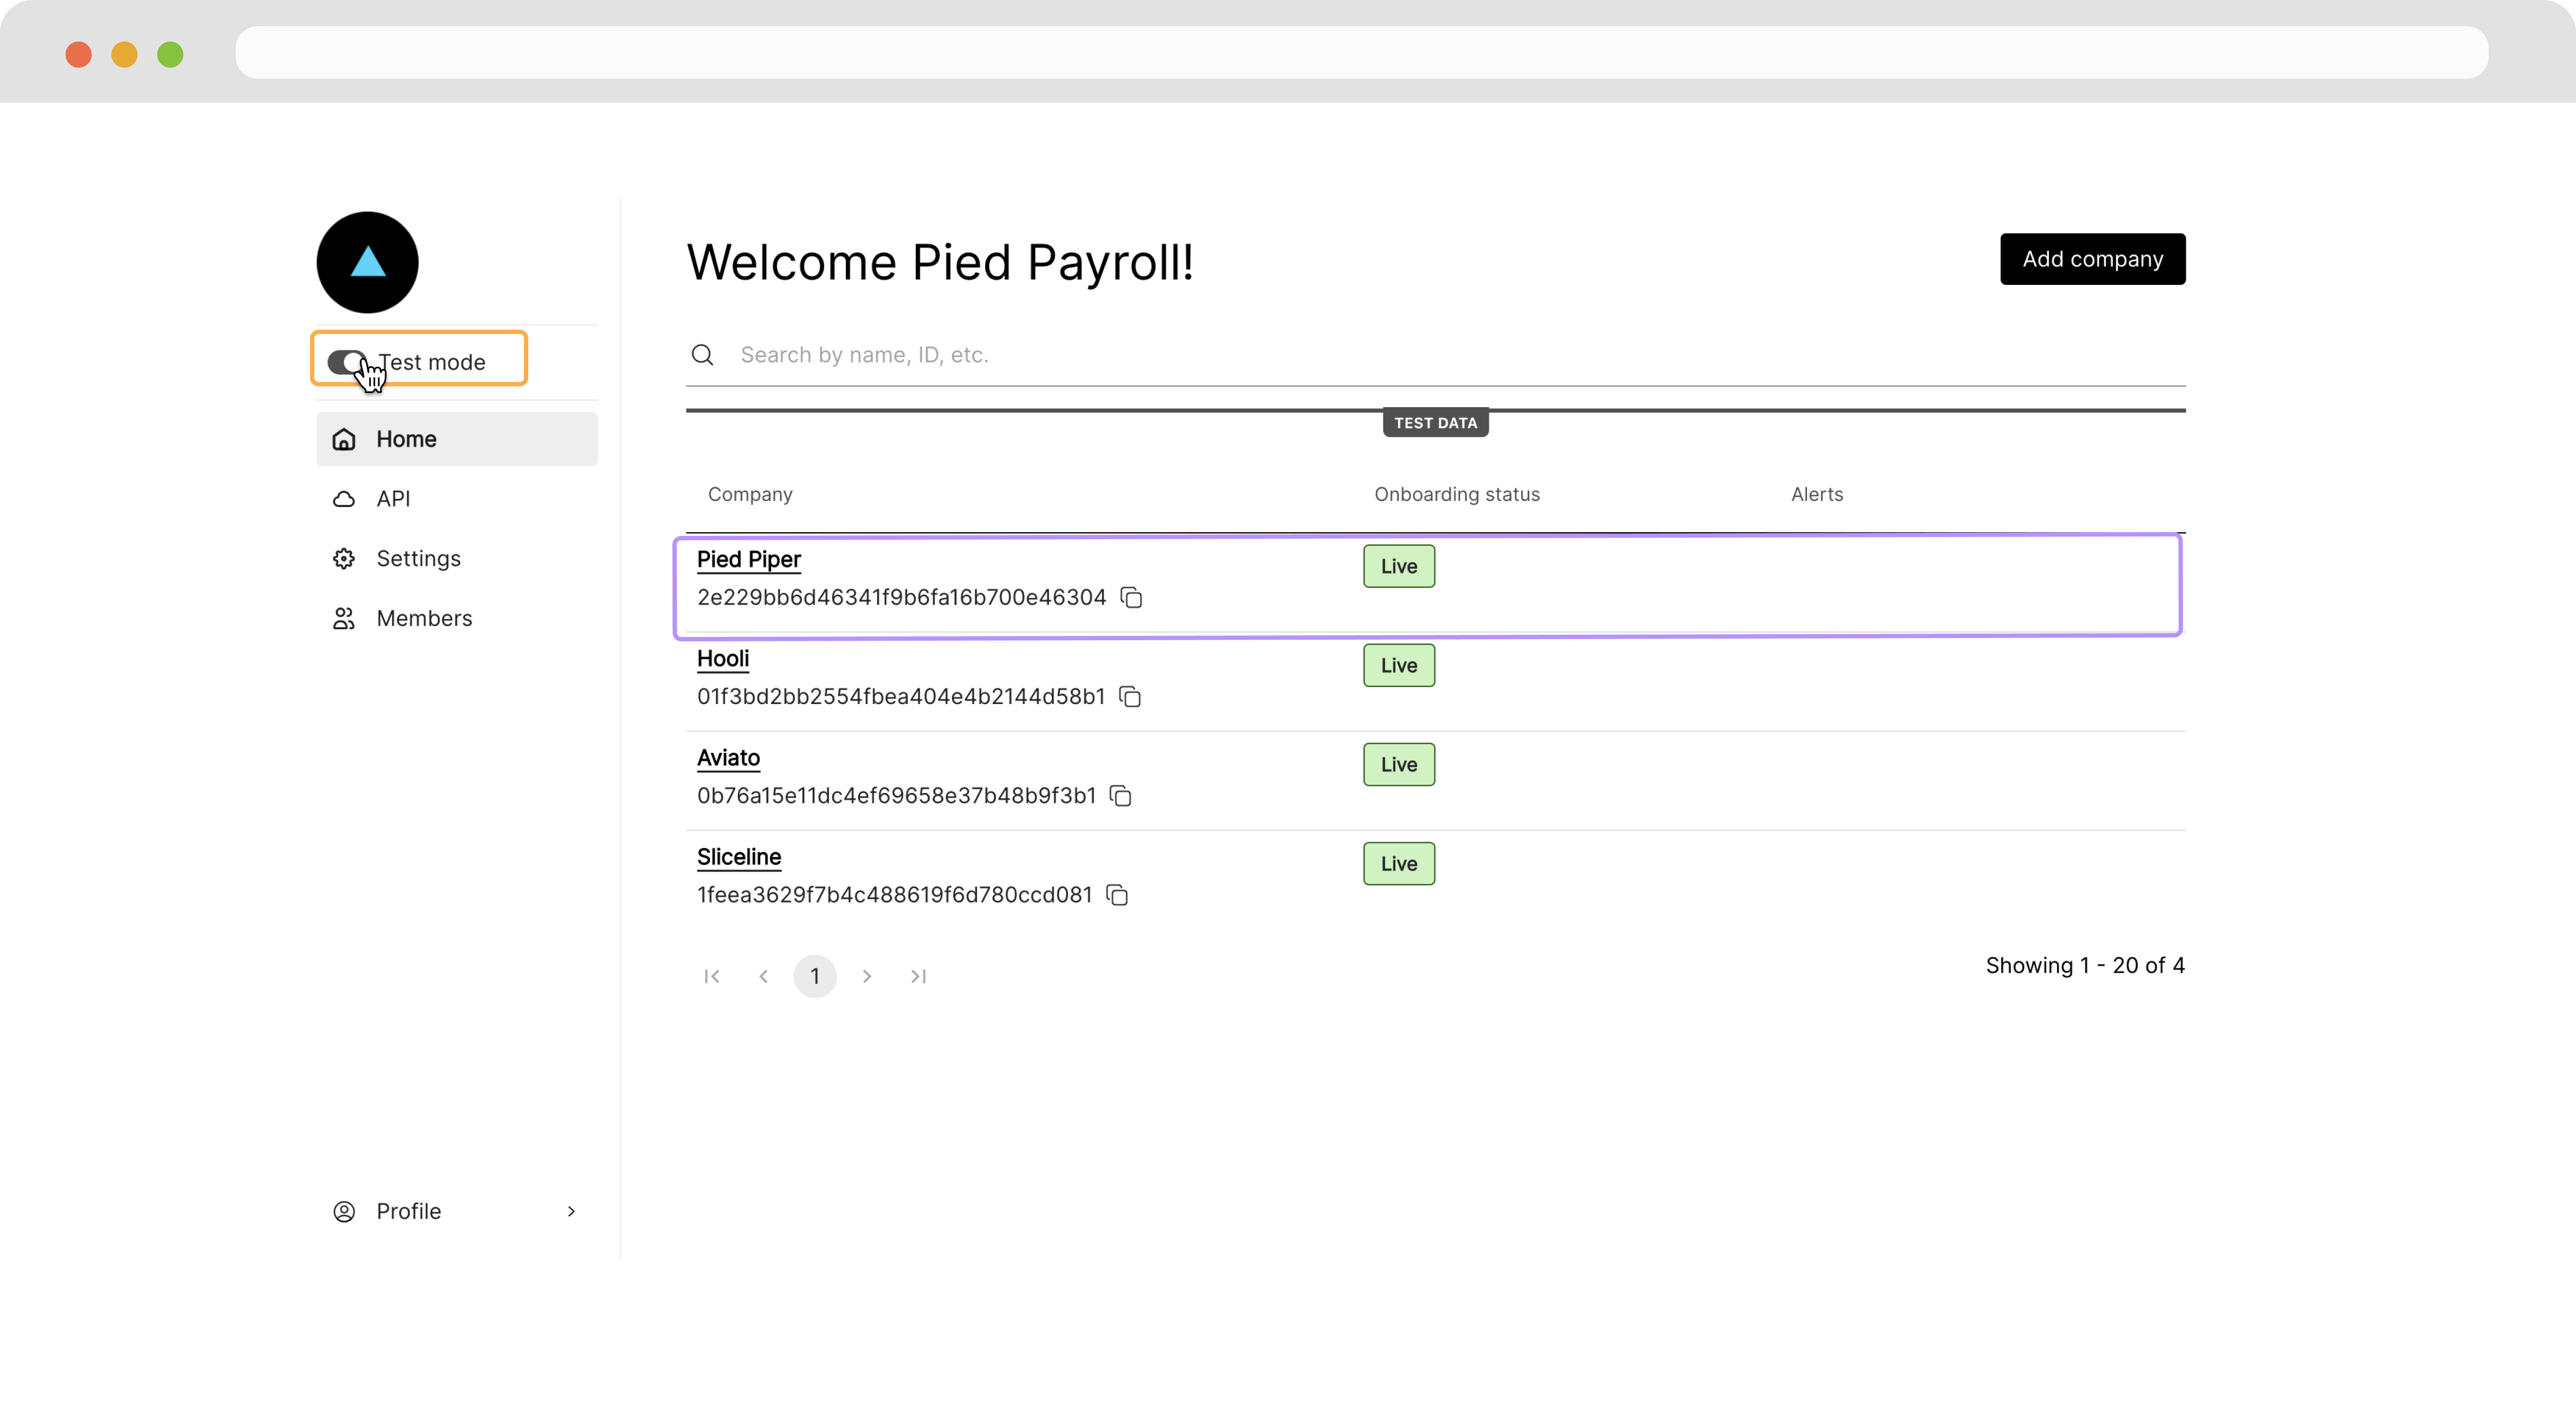
Back on the Partner Dashboard, the newly onboarded company is shown in the main section.
Creating a Work Location
Once the employer is onboarded, you can click on the Company to view the Employer Dashboard as an admin. From here, you can add a Work Location for the Company.
Click the company name.
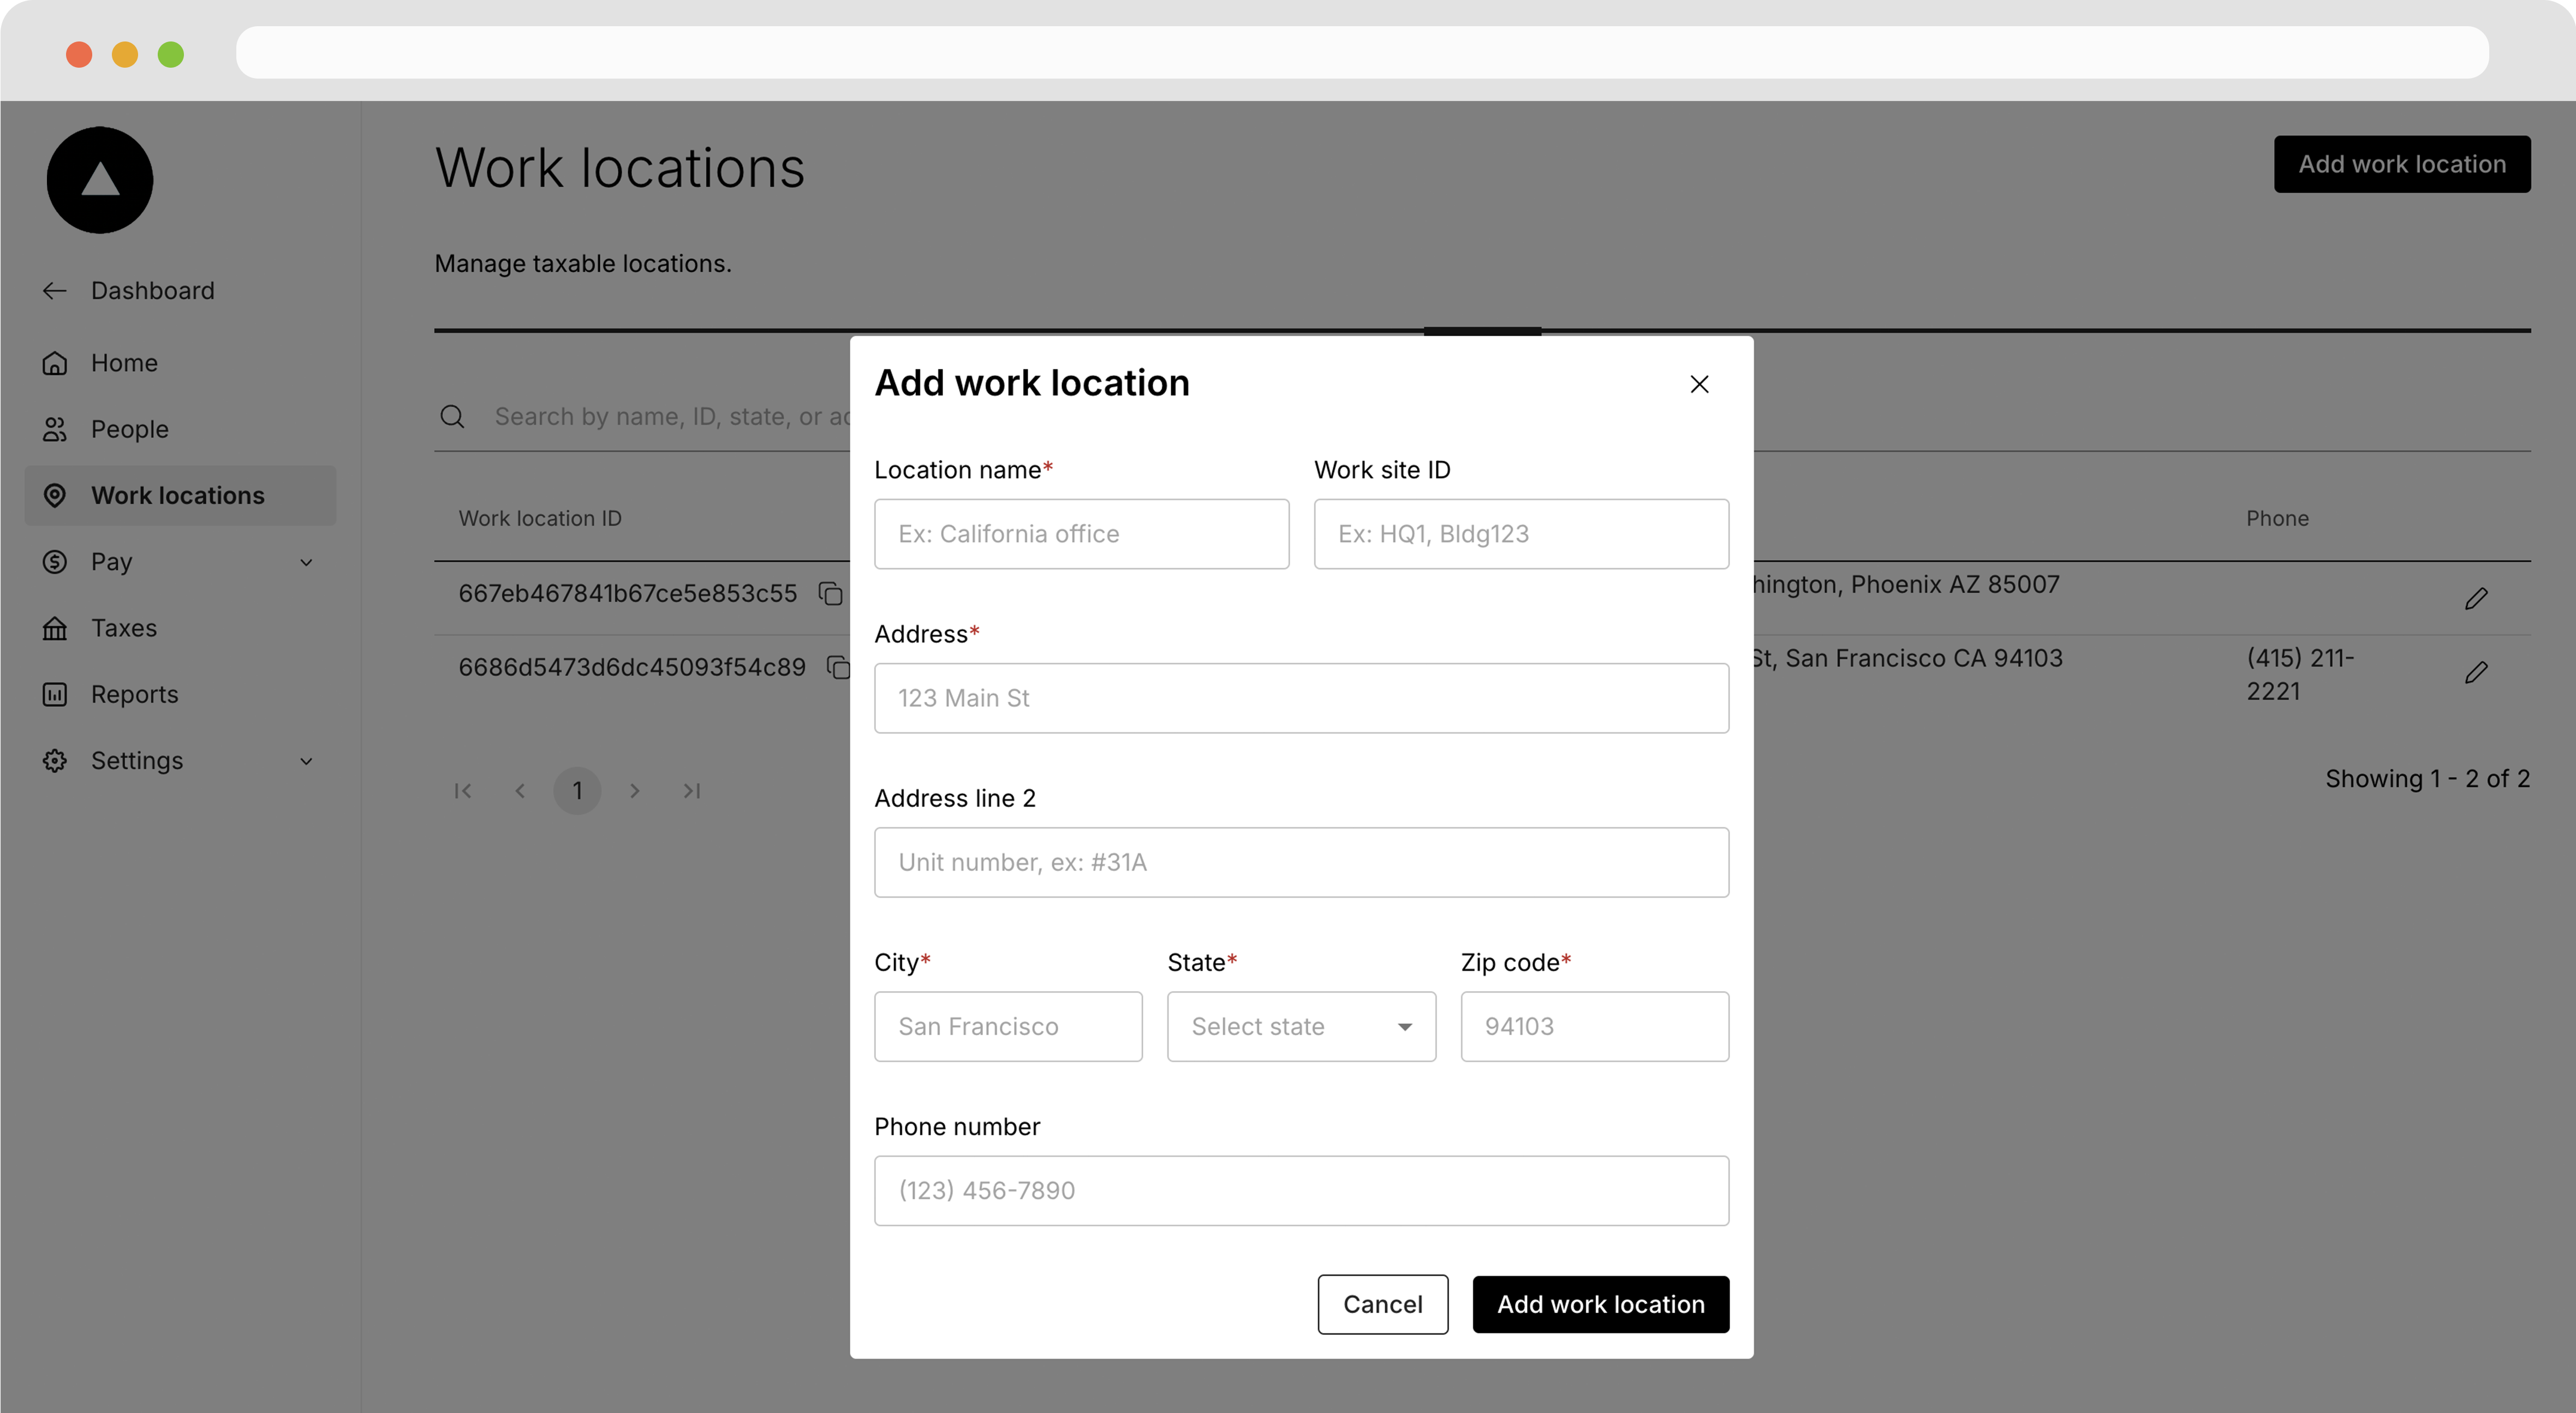
Navigate to the Work Locations page then click Add a New Location.
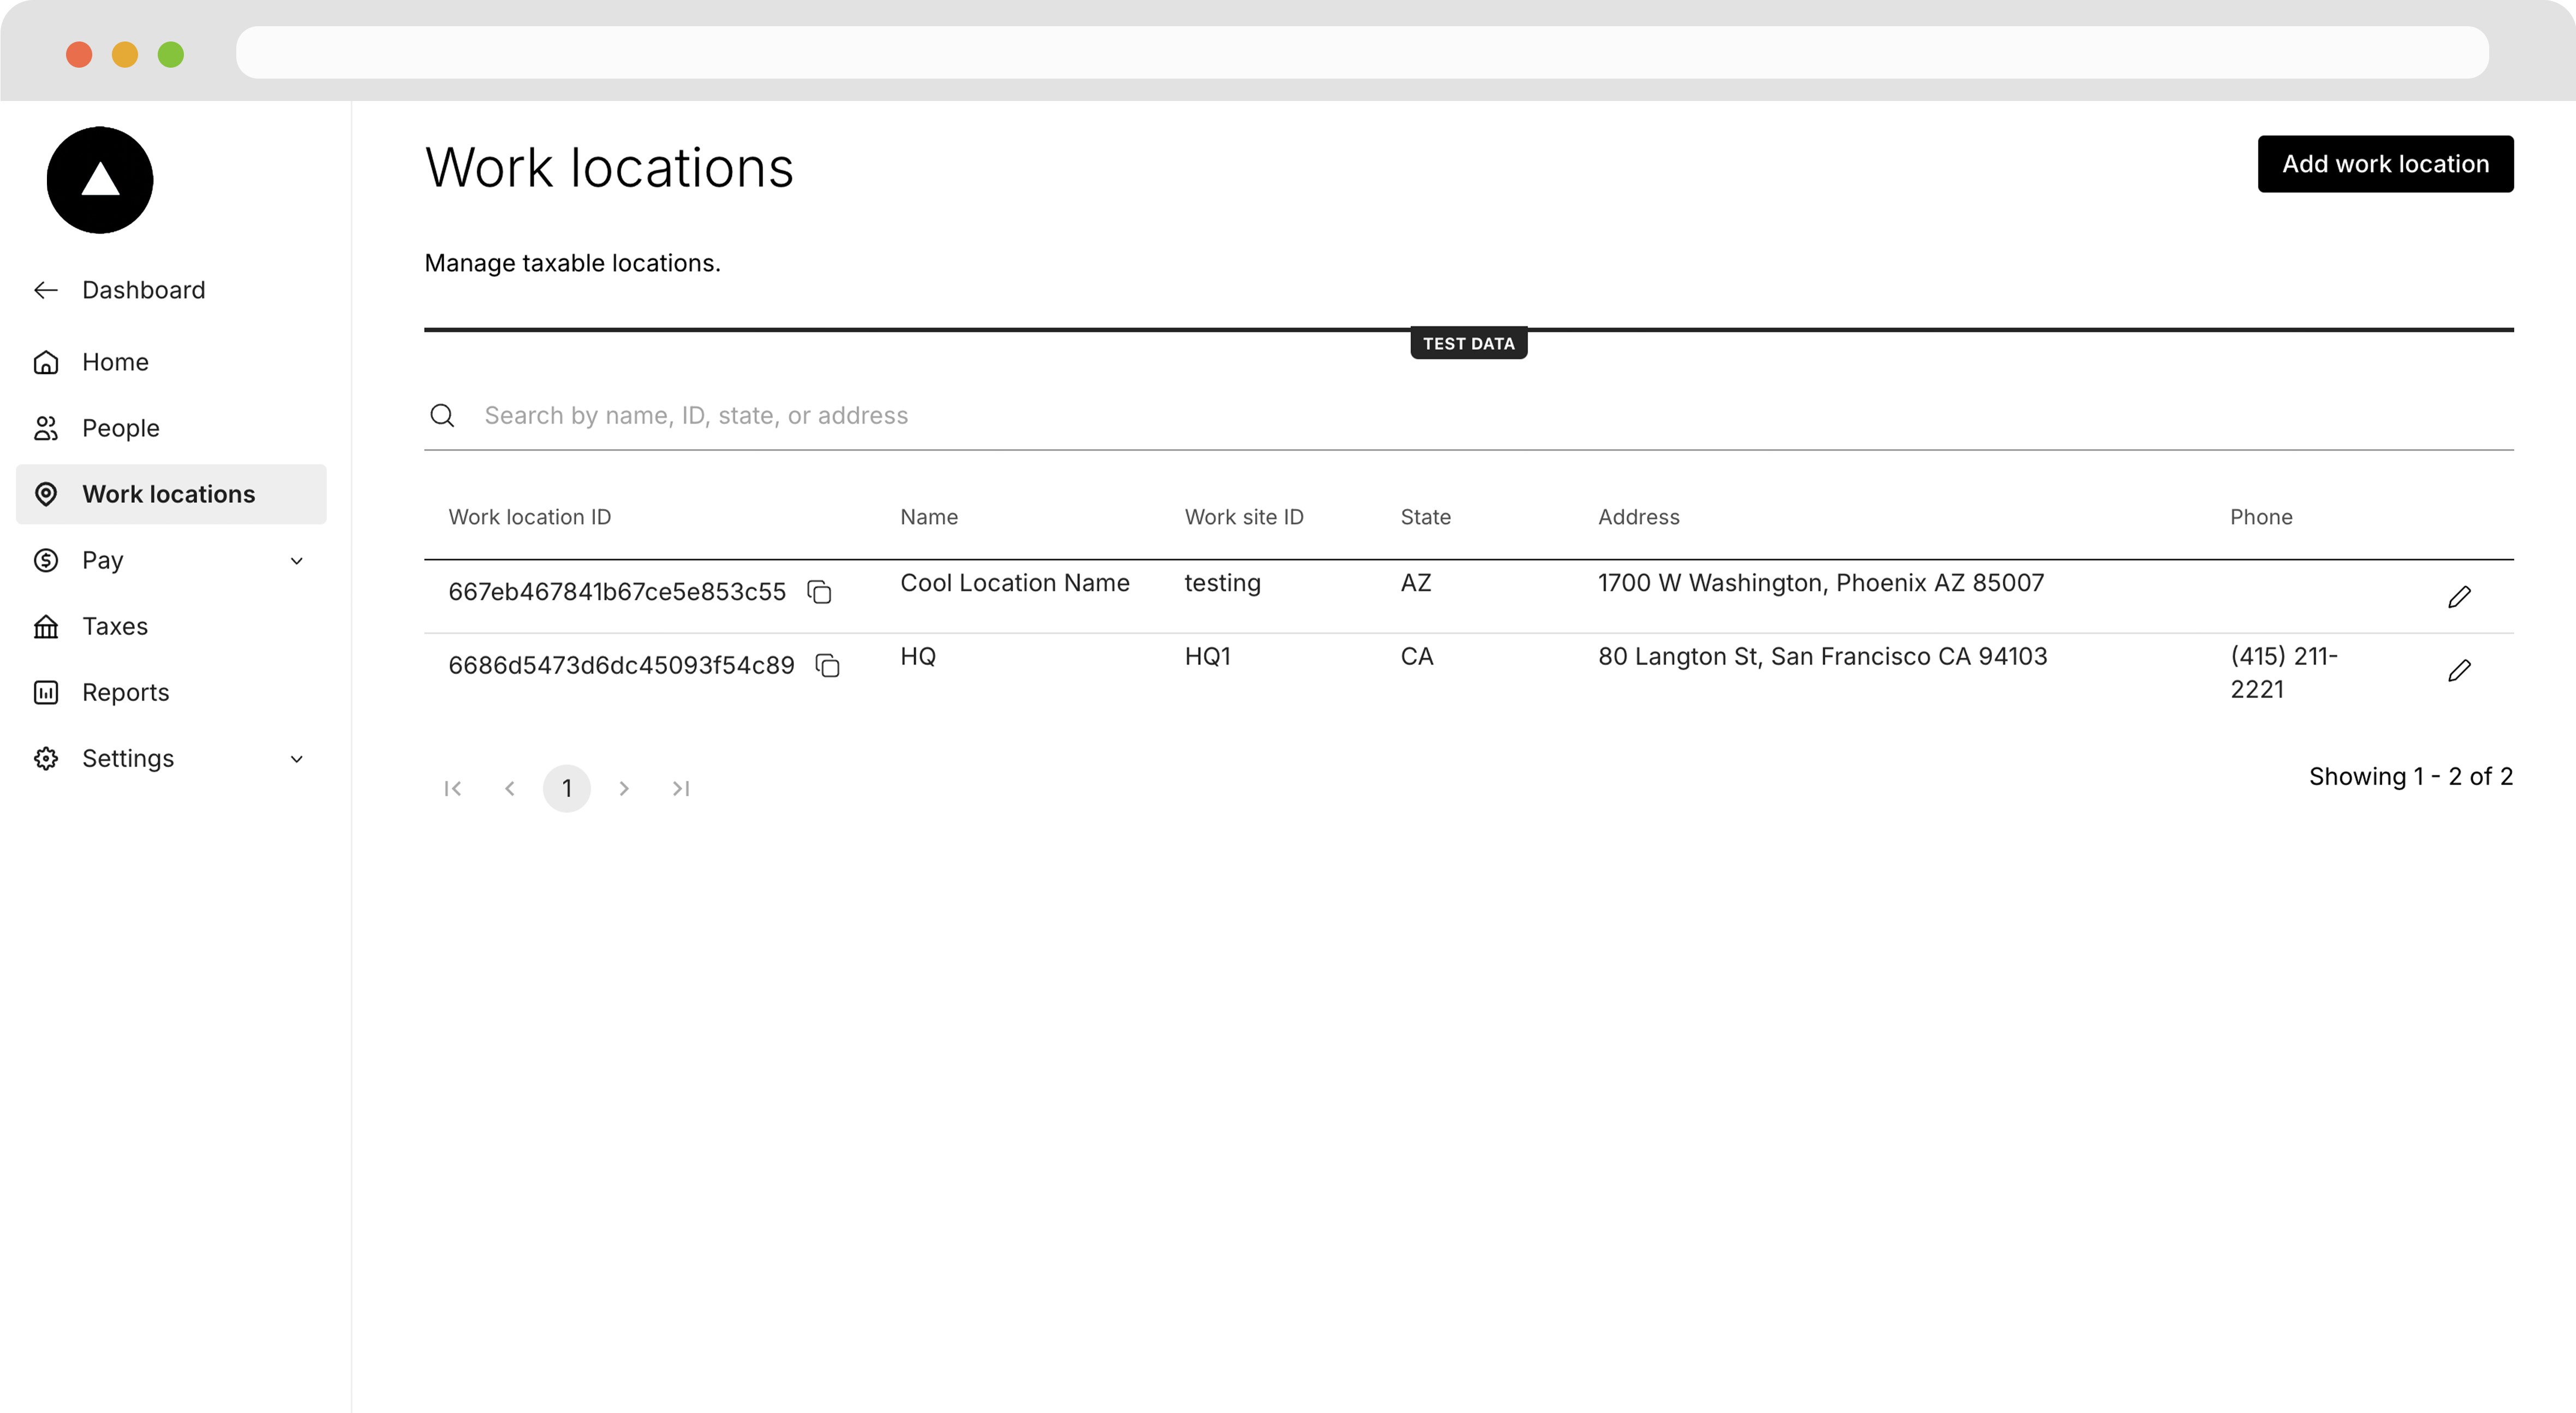
Enter the taxable address where the employee(s) will be working and click Create.
Onboarding an Employee
Now that we've added a location our employee(s) will be working at, we can onboard them.
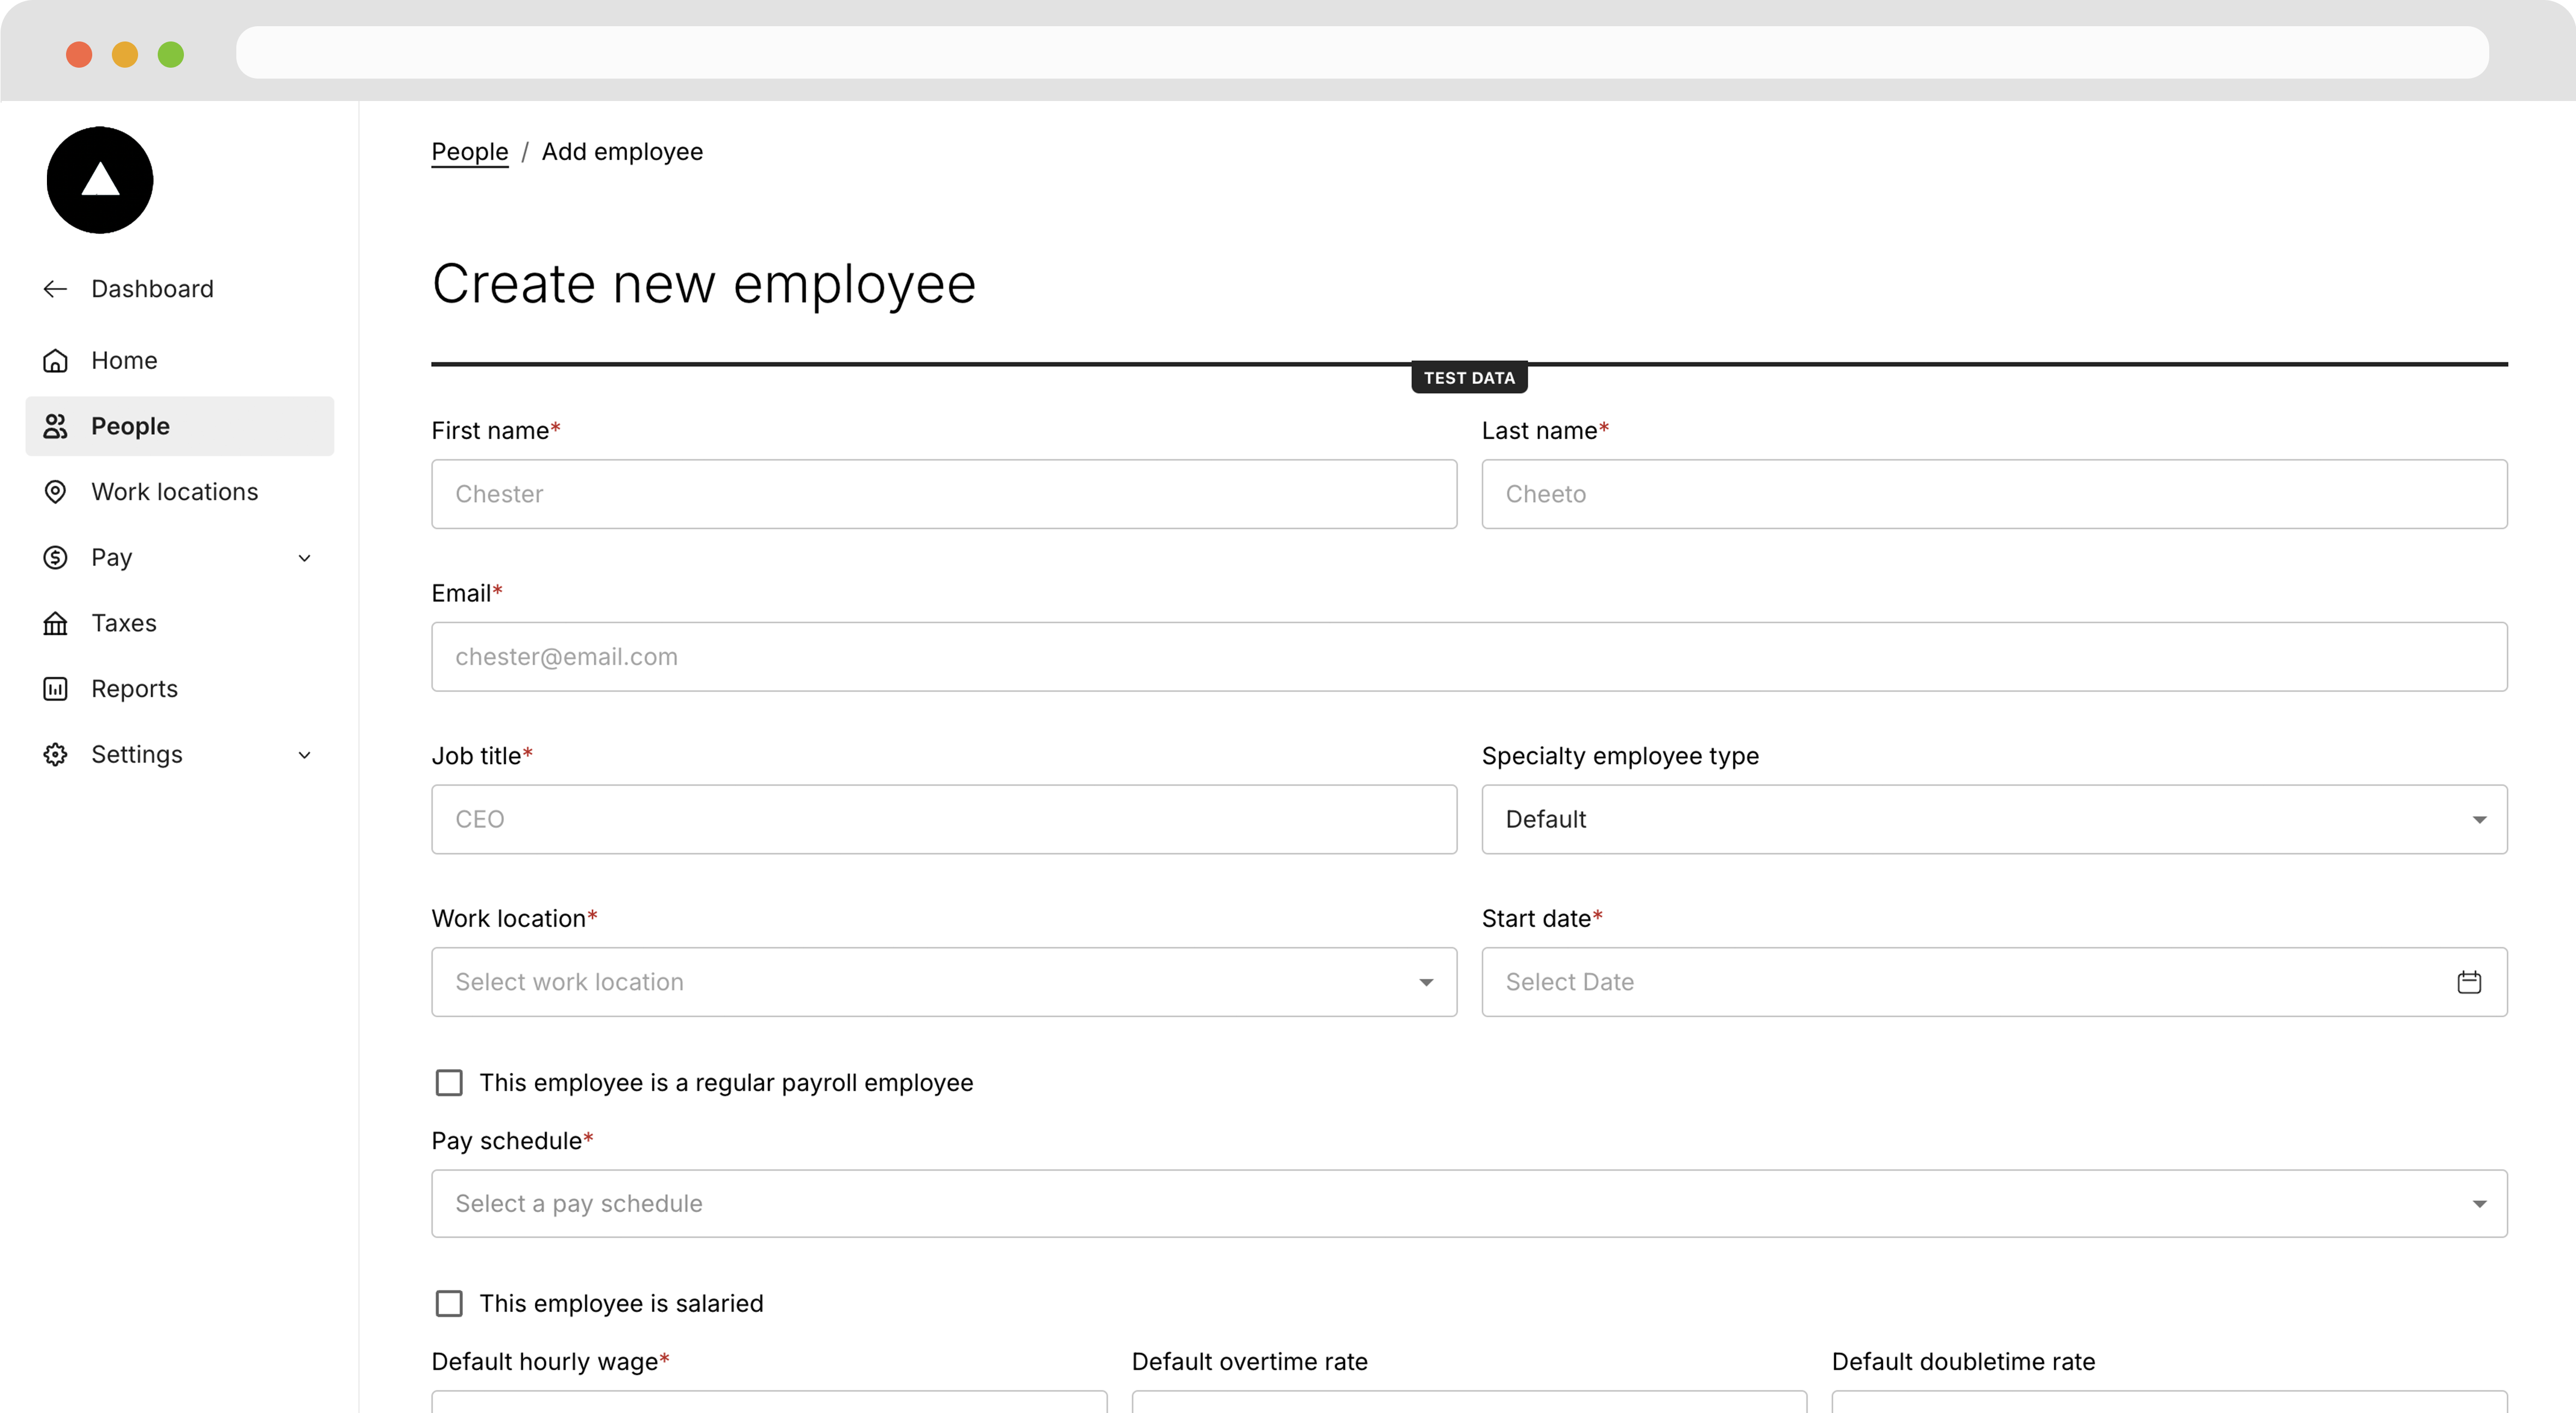
Navigate to the People page and click Add employee.
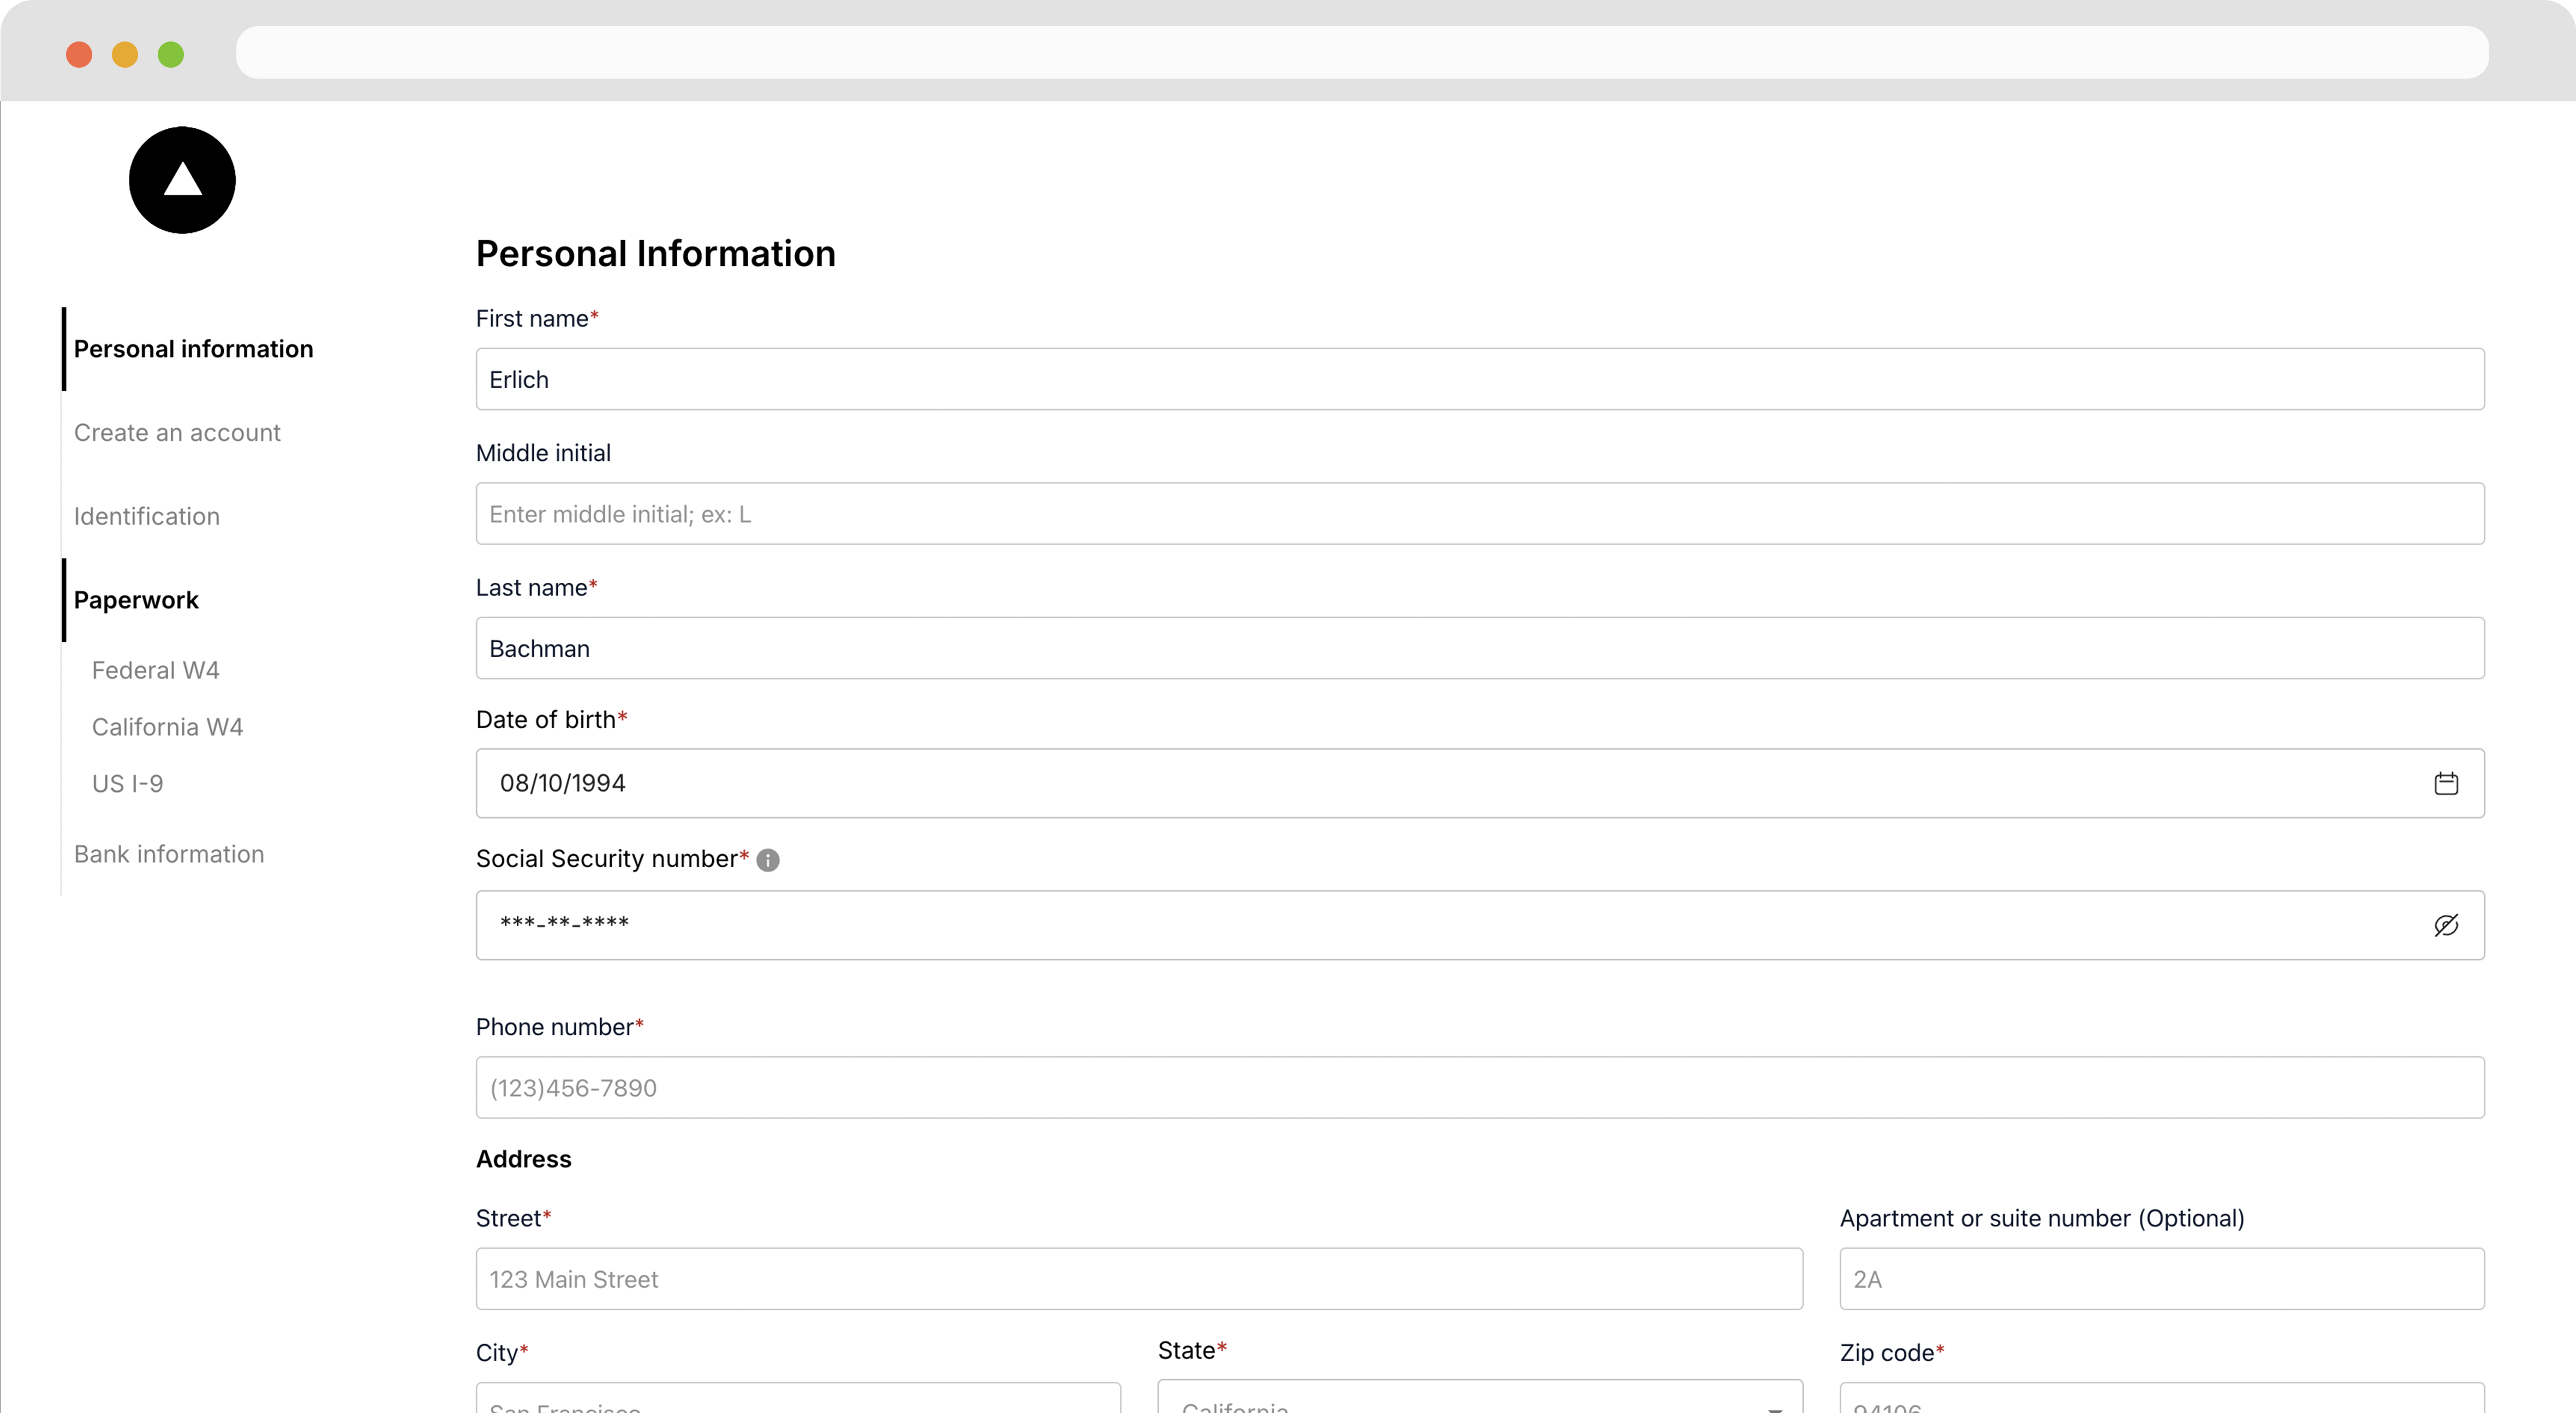
Fill the employee information and select the proper Work Location from the dropdown, then click Add Employee.
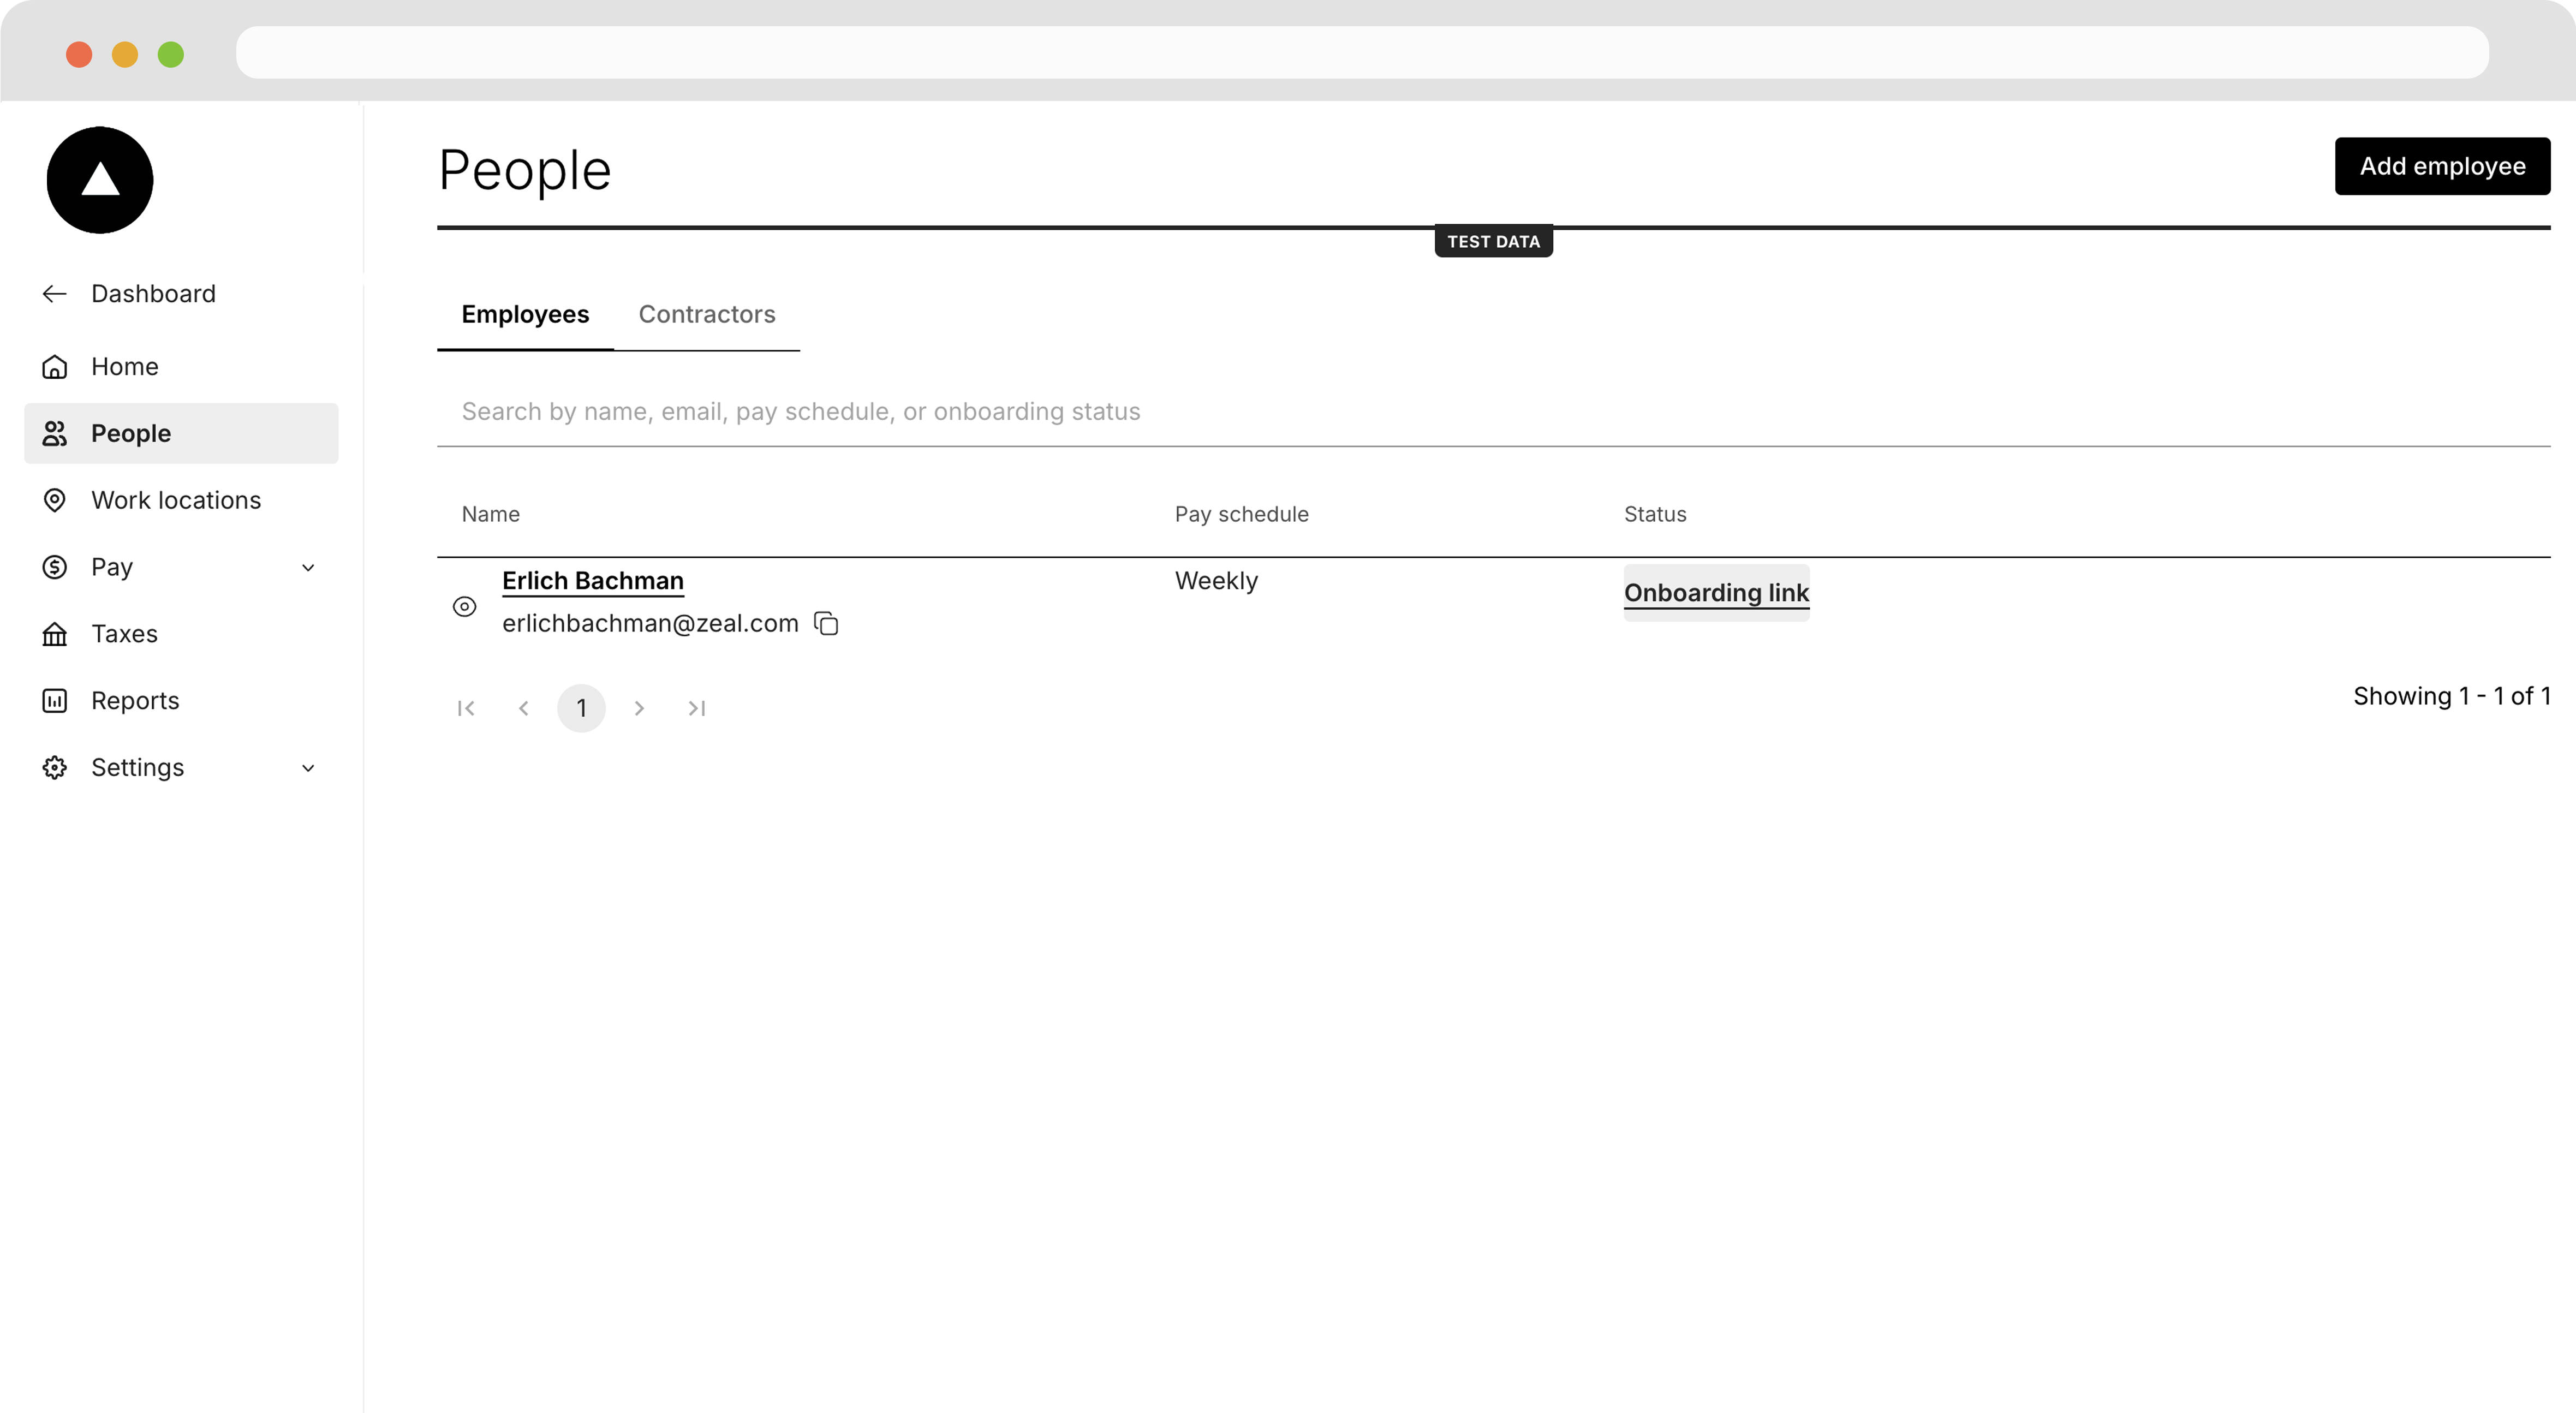
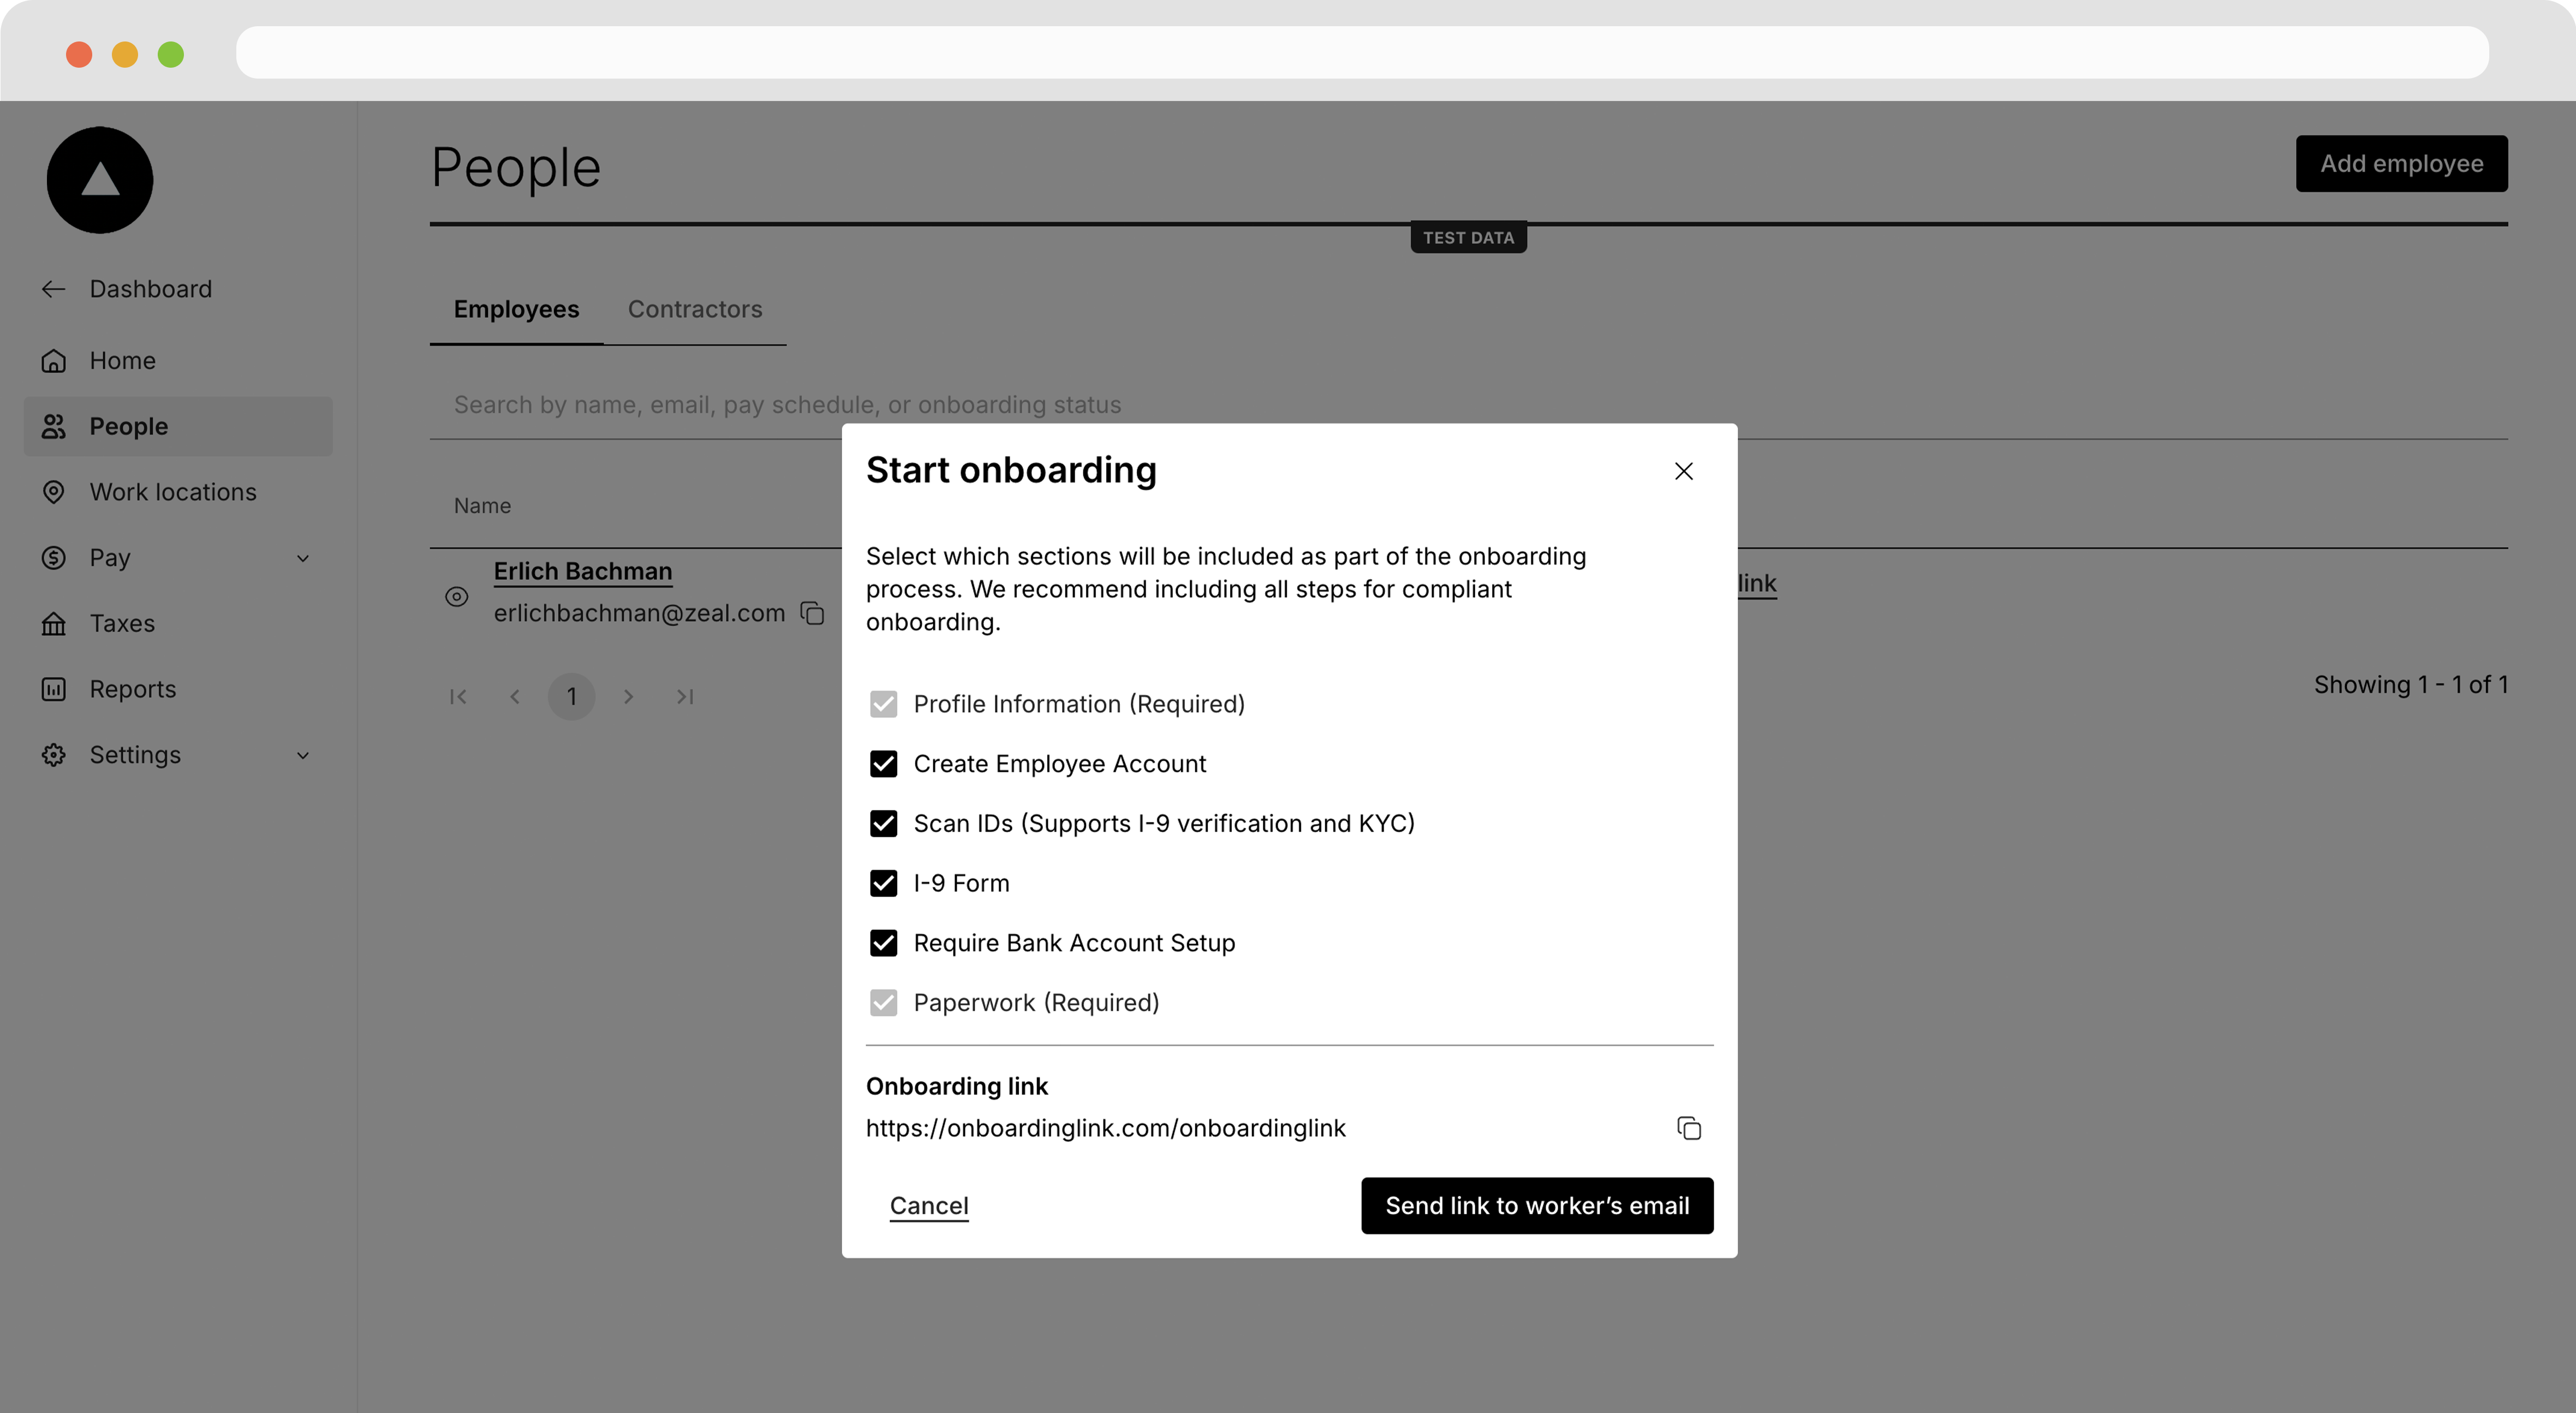
Back on the People page, find the Employee and click Onboarding link to copy the onboarding link or send it to the worker's email.
Open the link in a new tab to complete the onboarding flow.
Running payroll
Once the employee is onboarded, we can pay them.
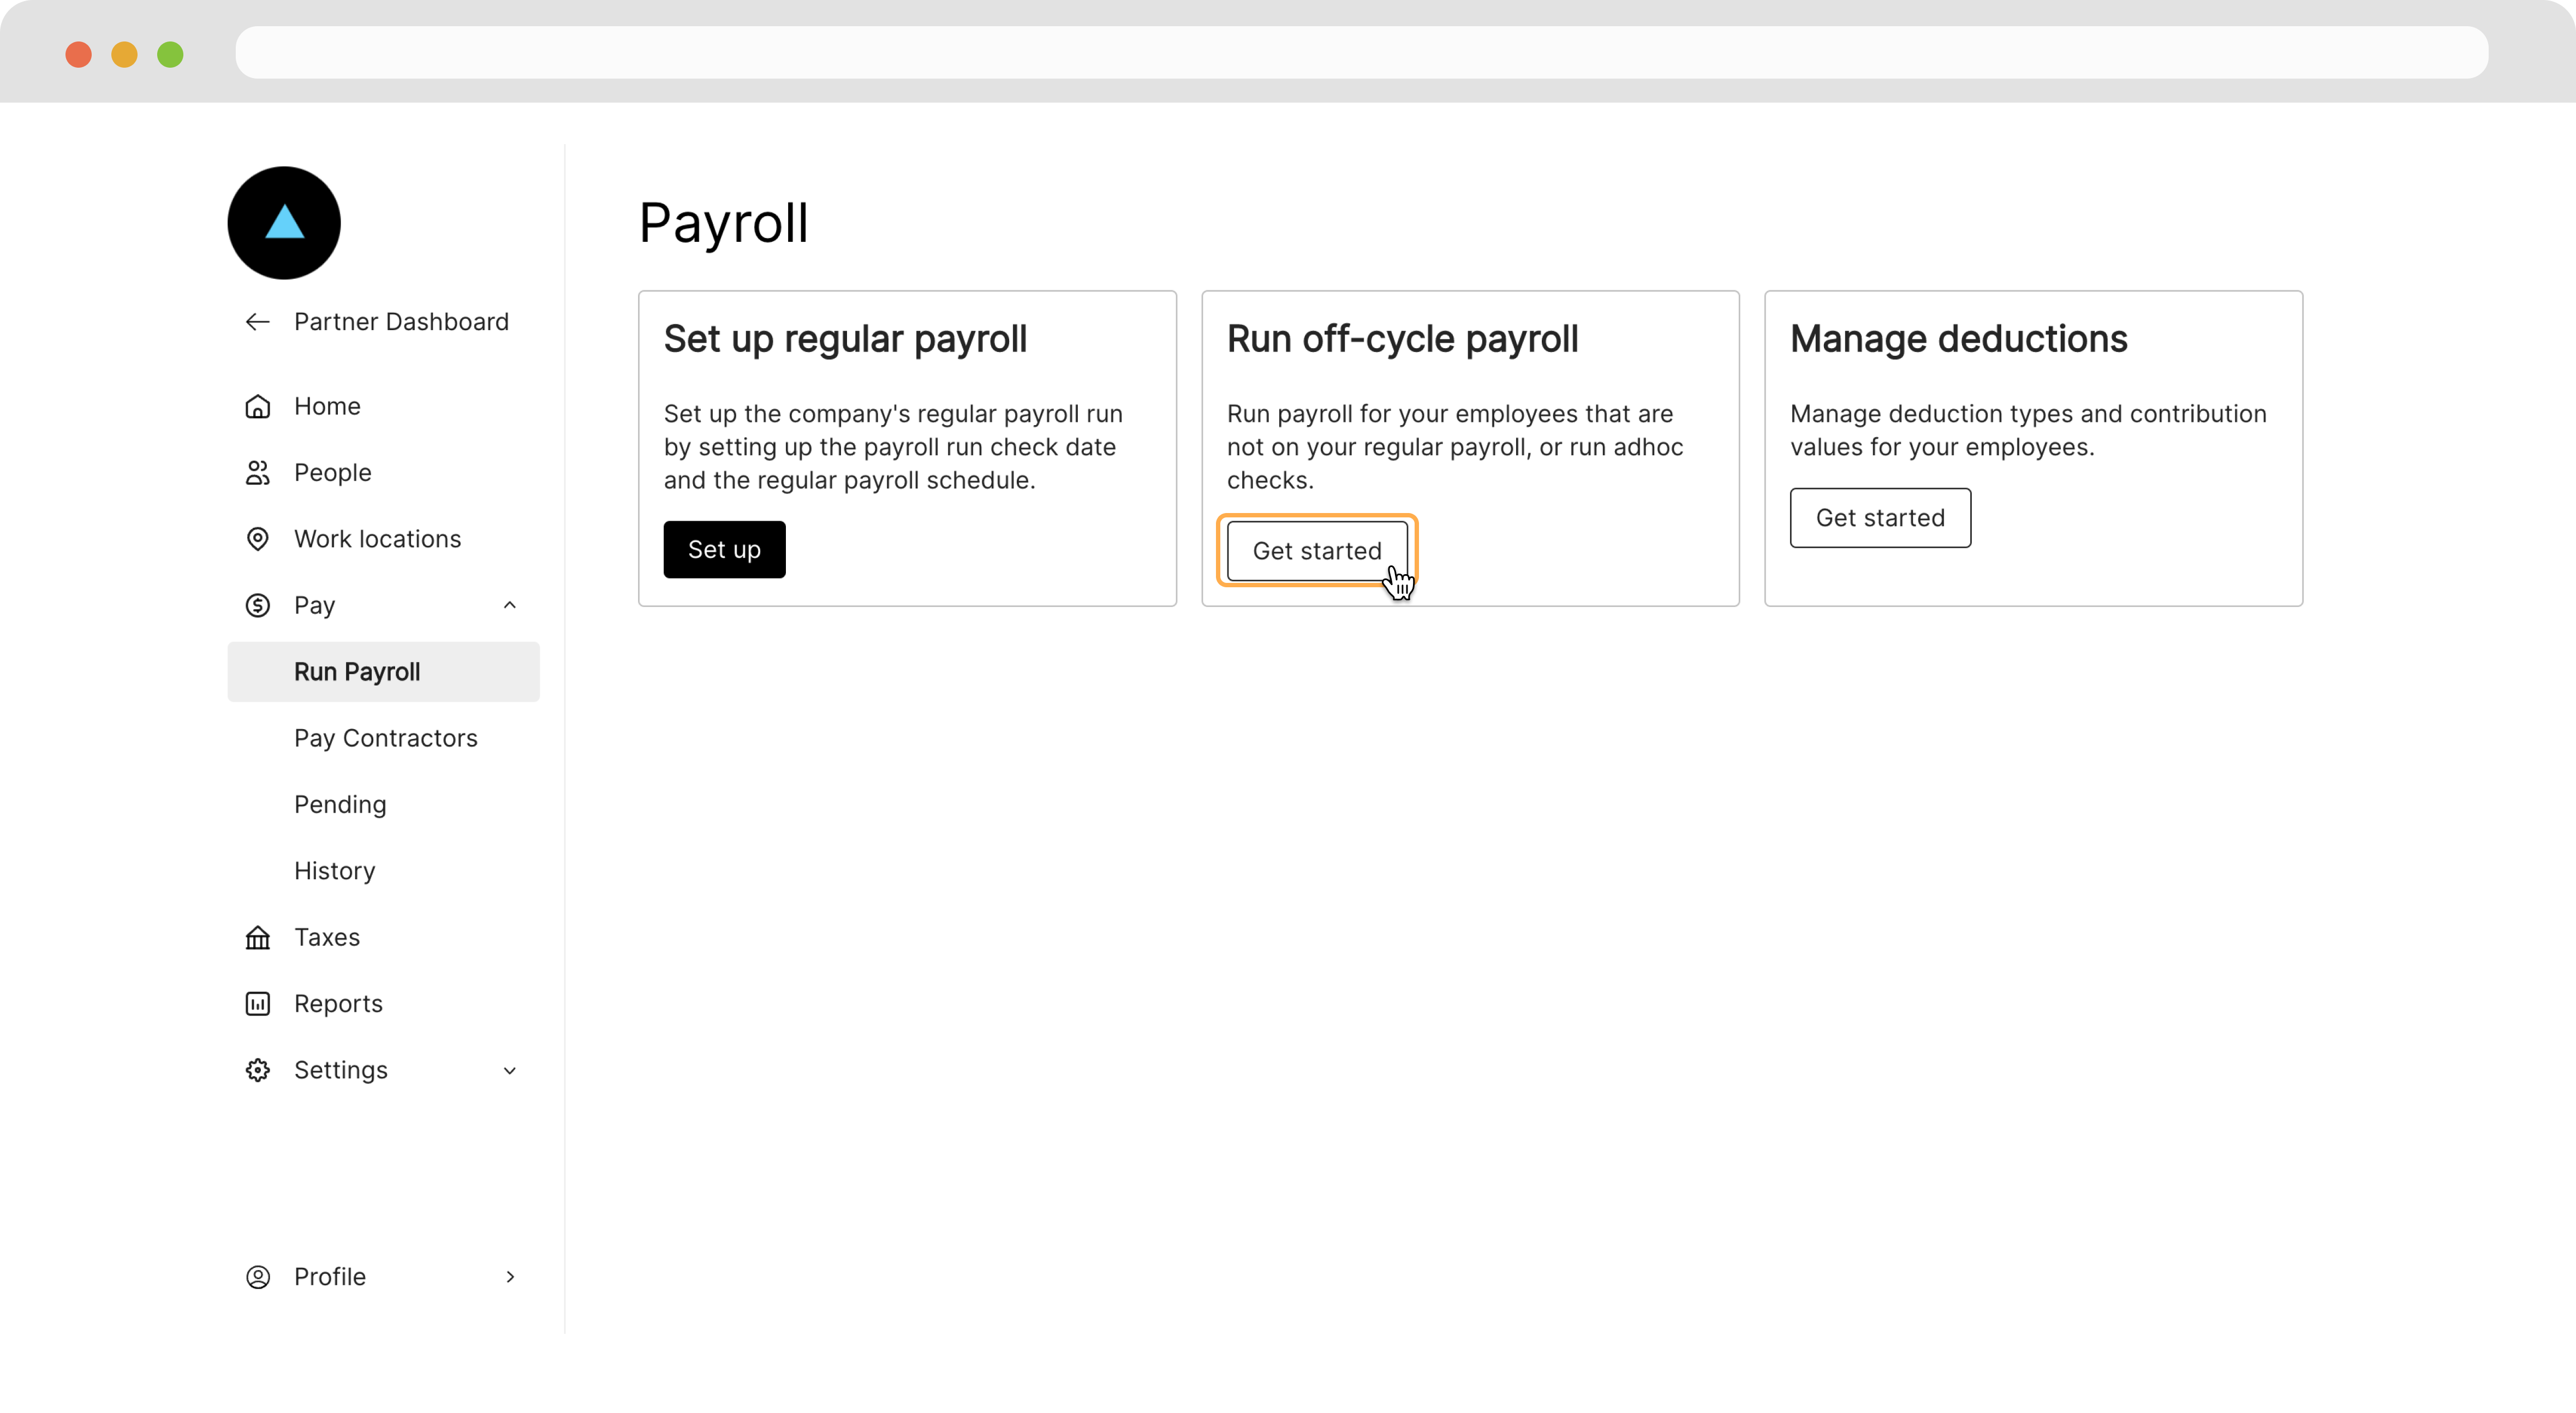
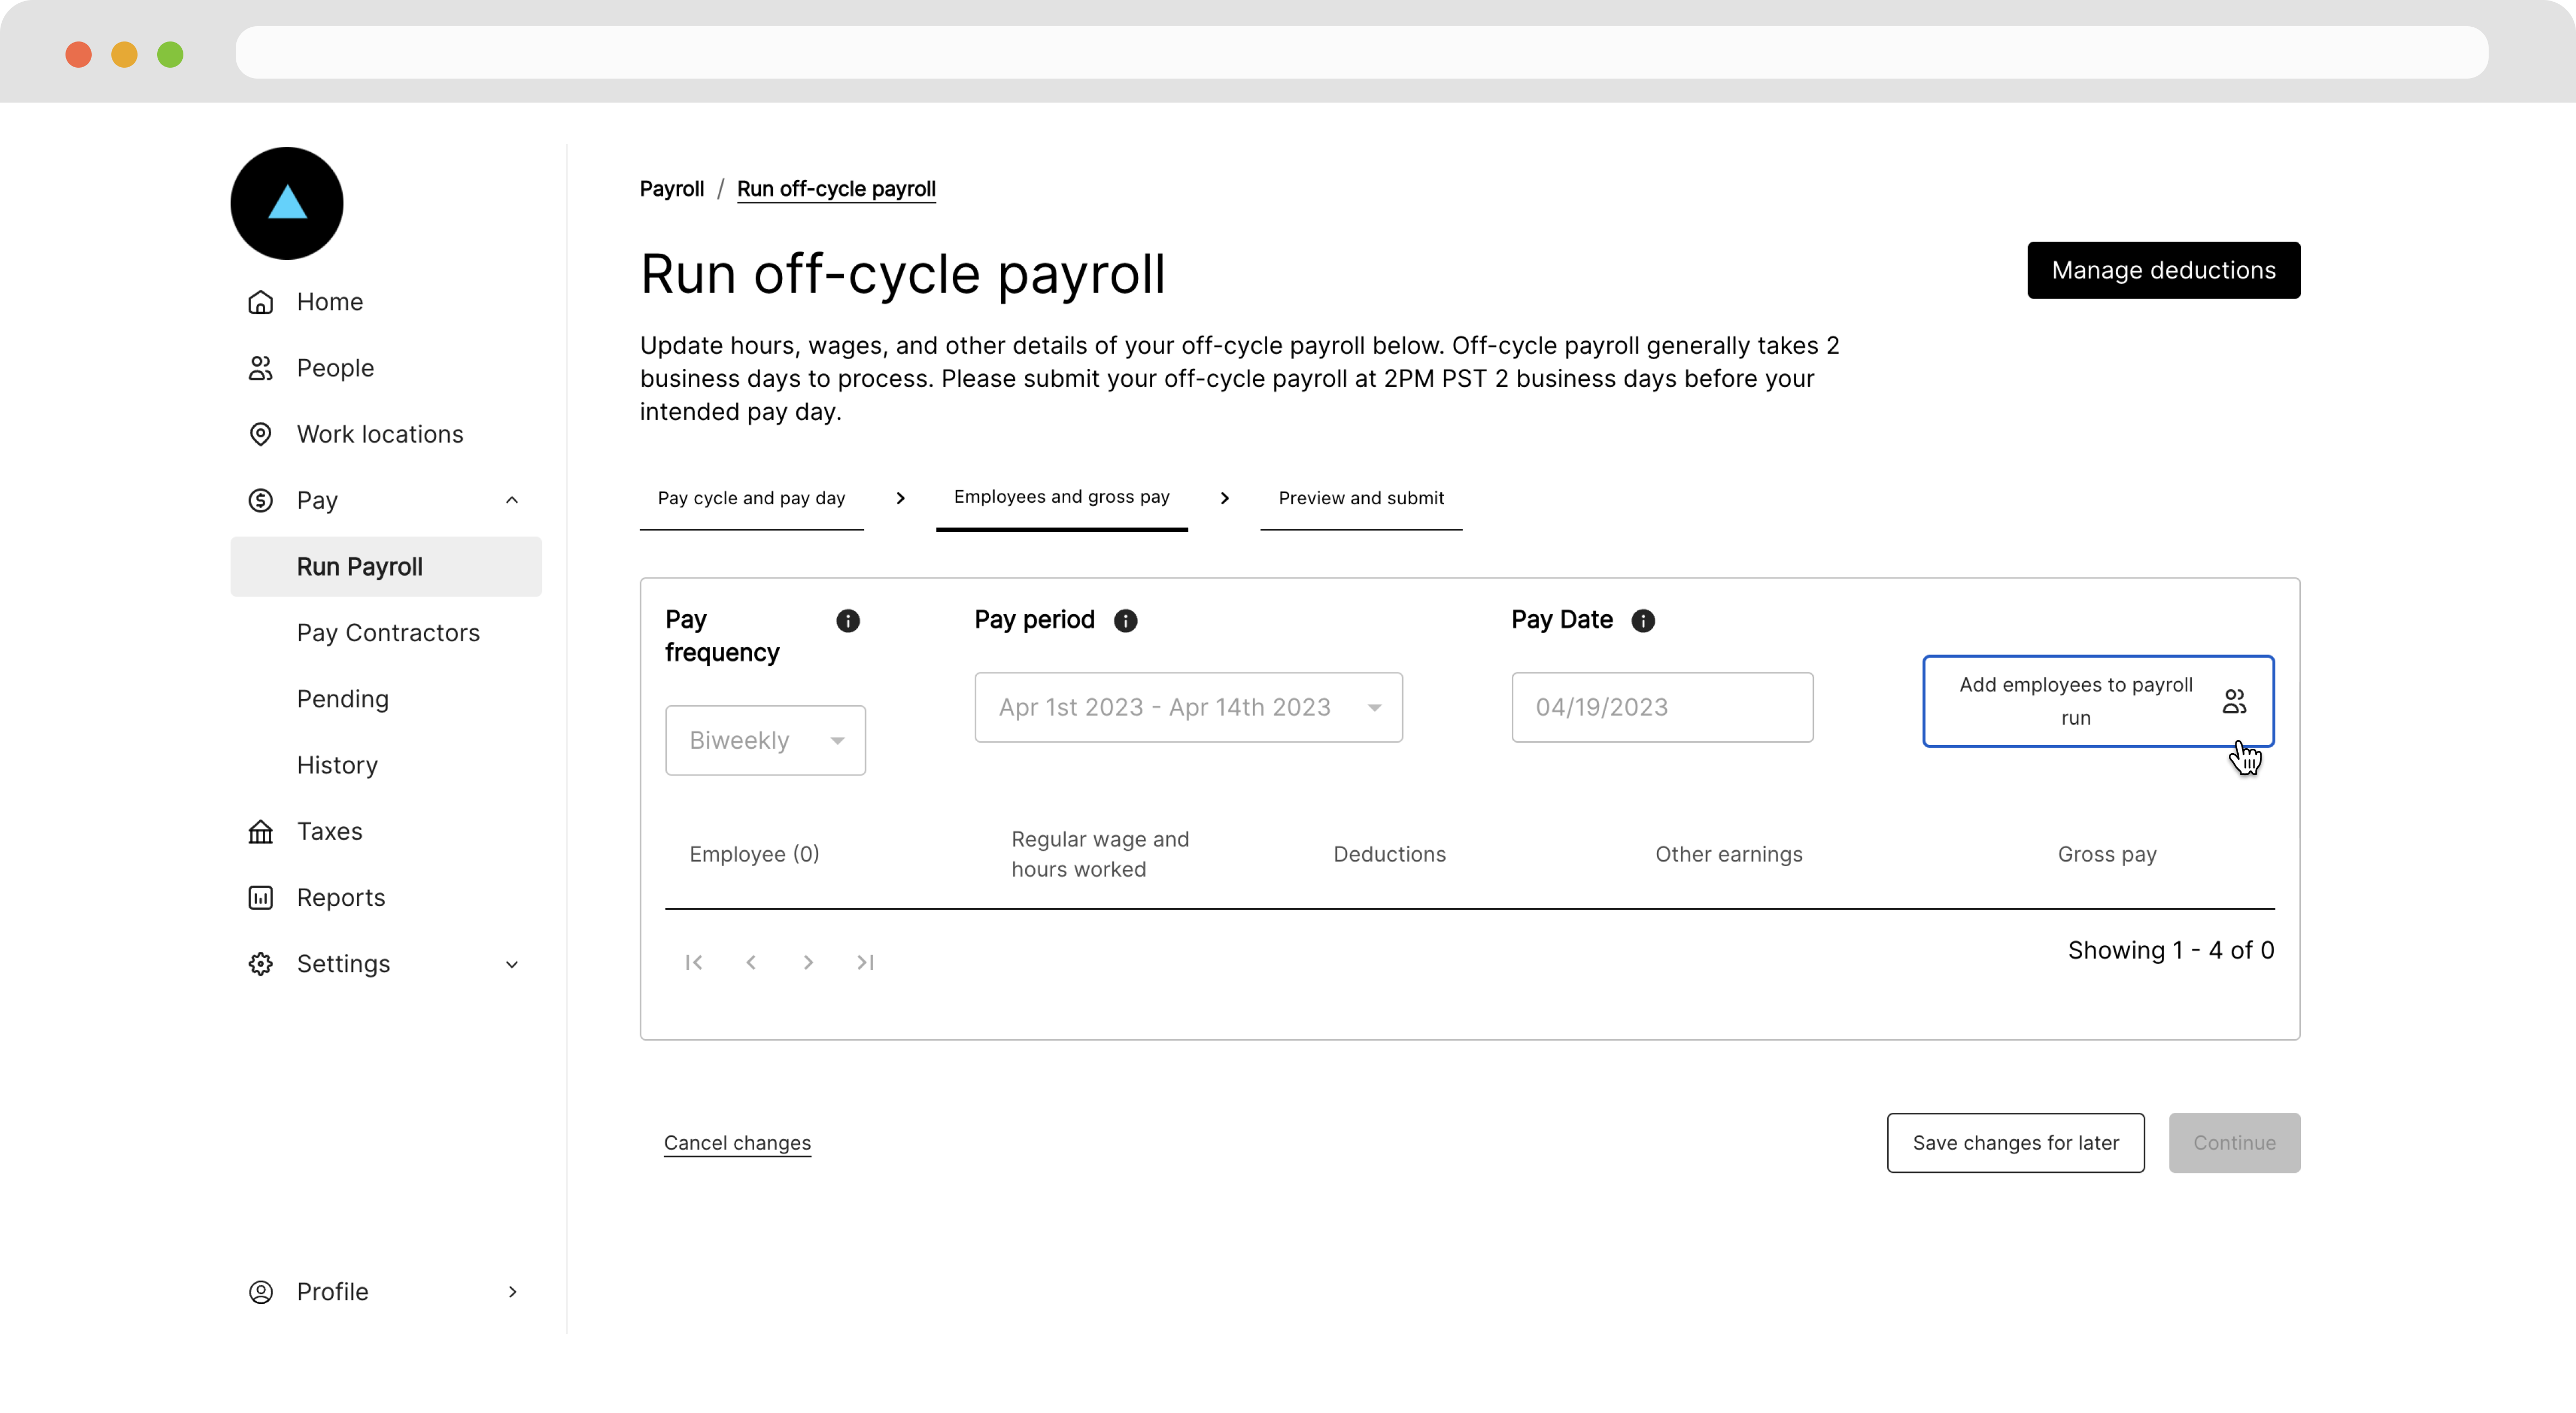
Navigate to Run Payroll and click Get Started under the run off-cycle payroll section.
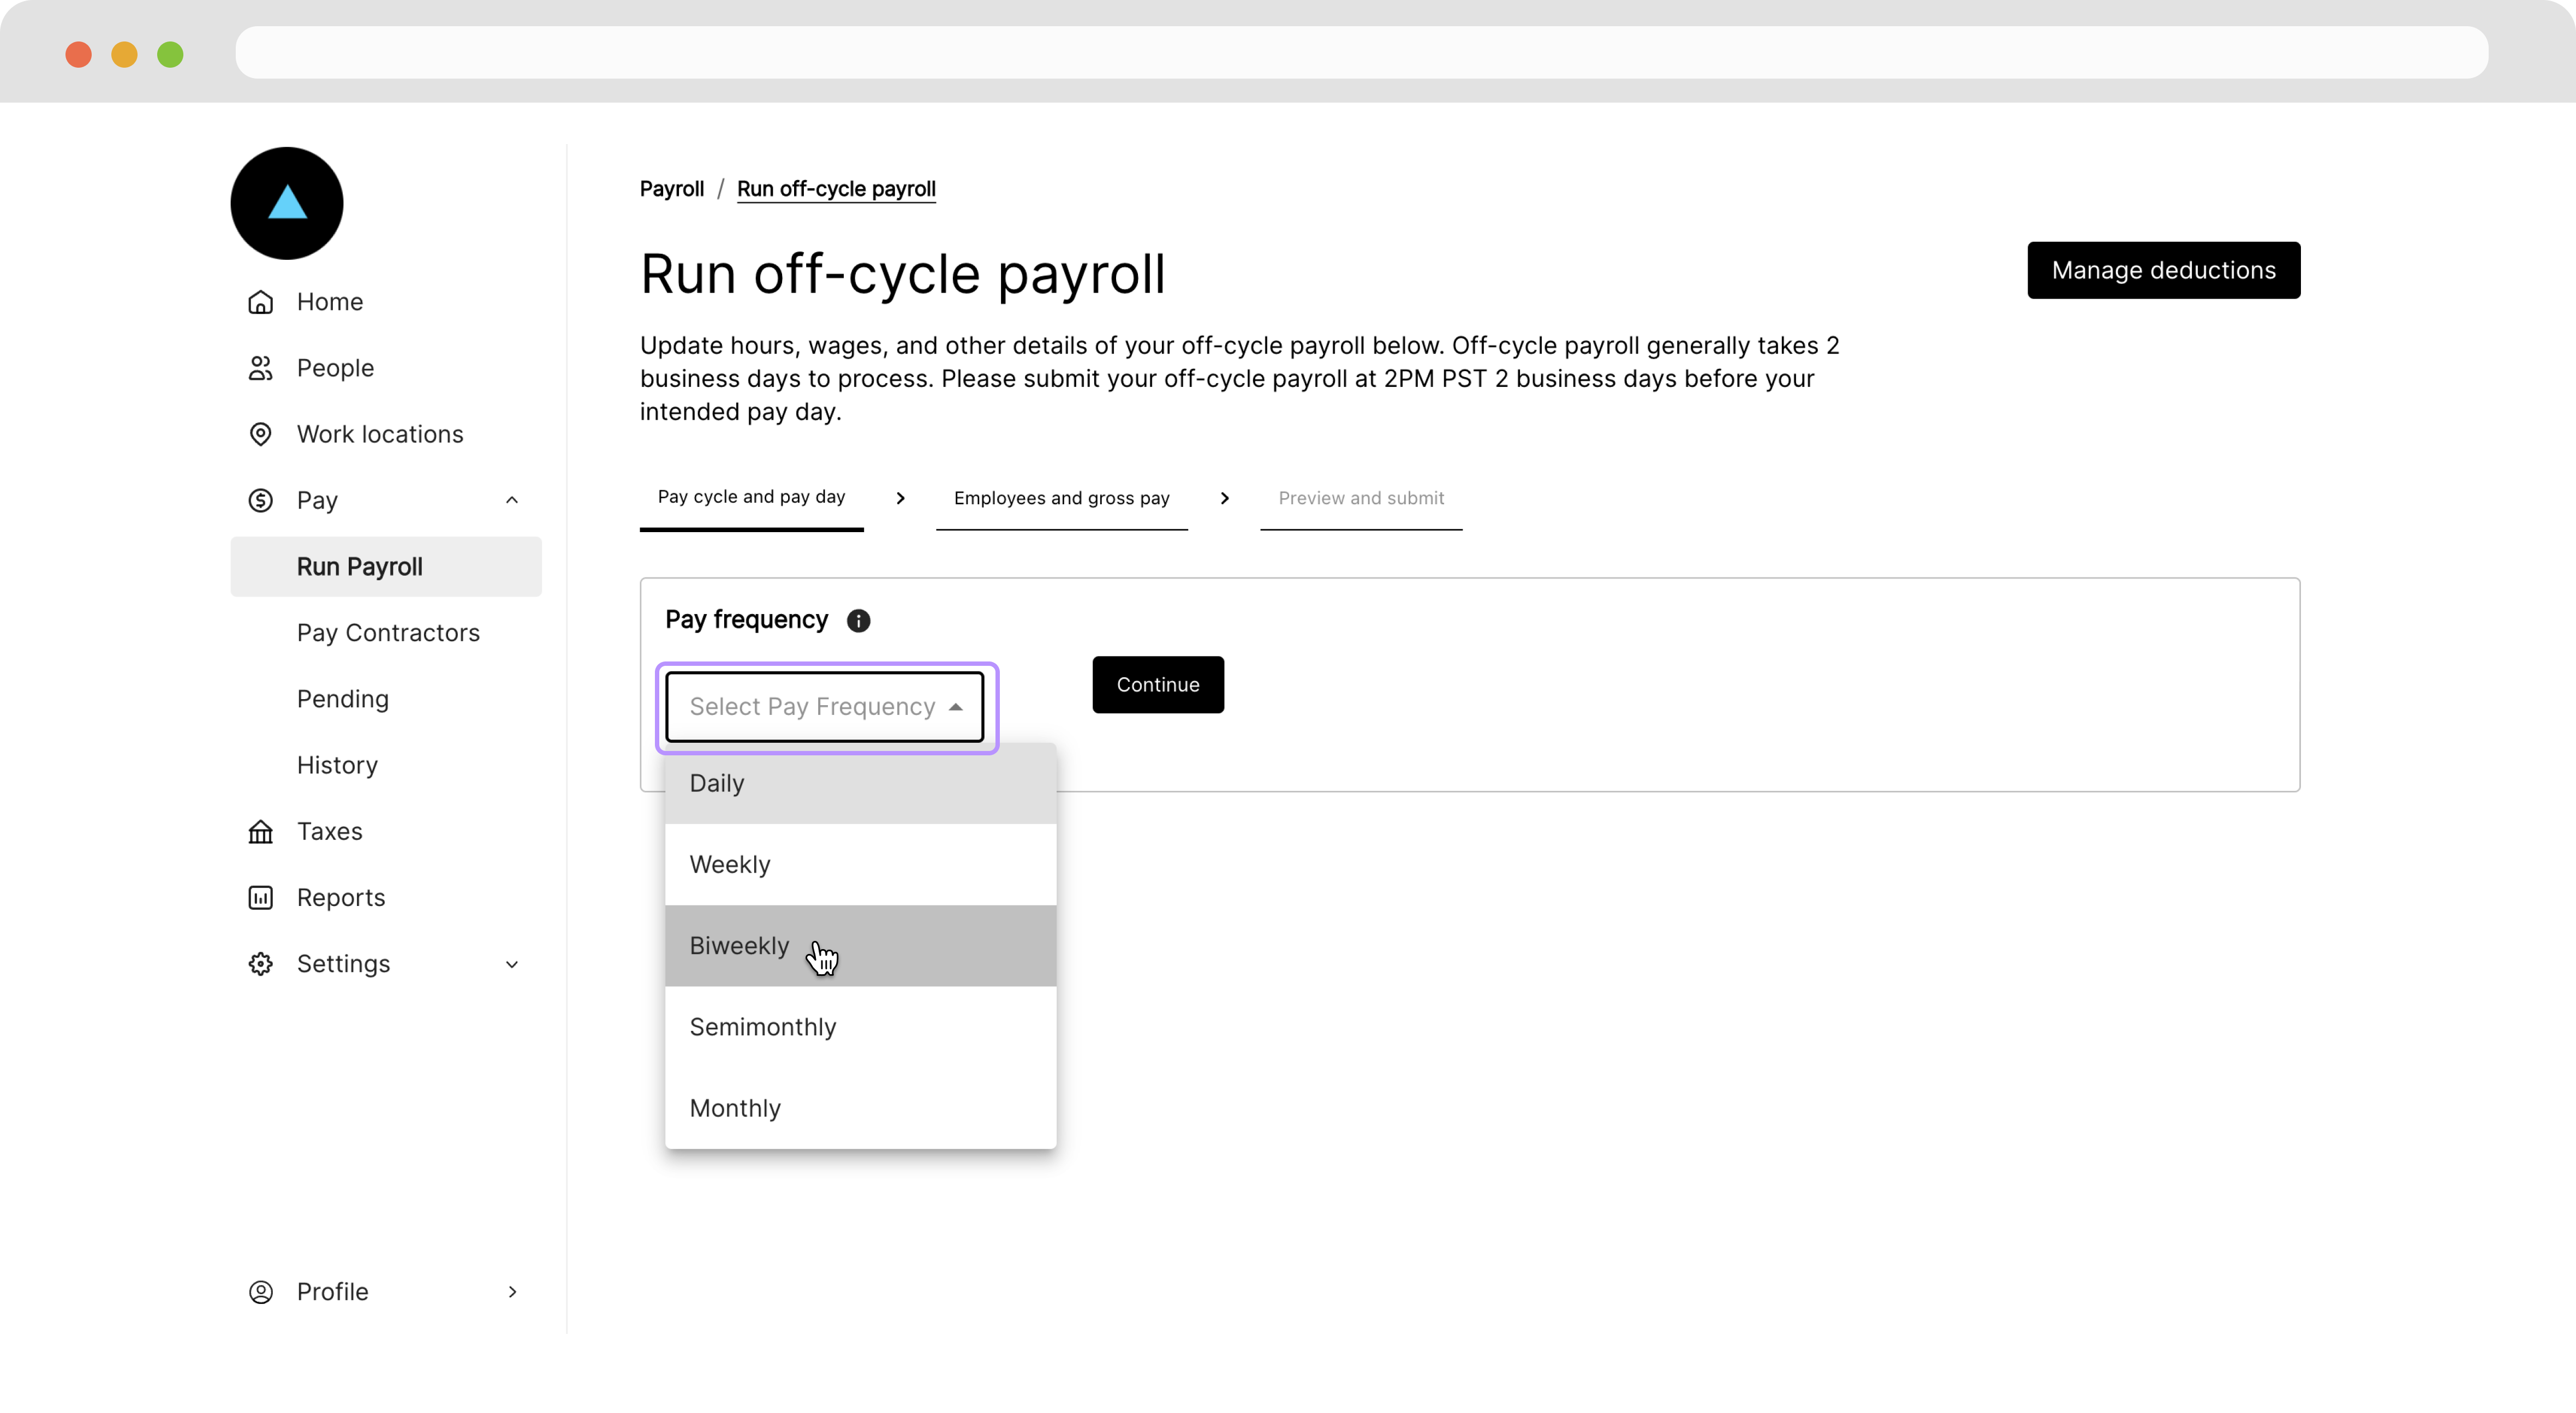
On the following page, we'll select the Pay frequency. Ensure that this matches the pay schedule we assigned to our employee.
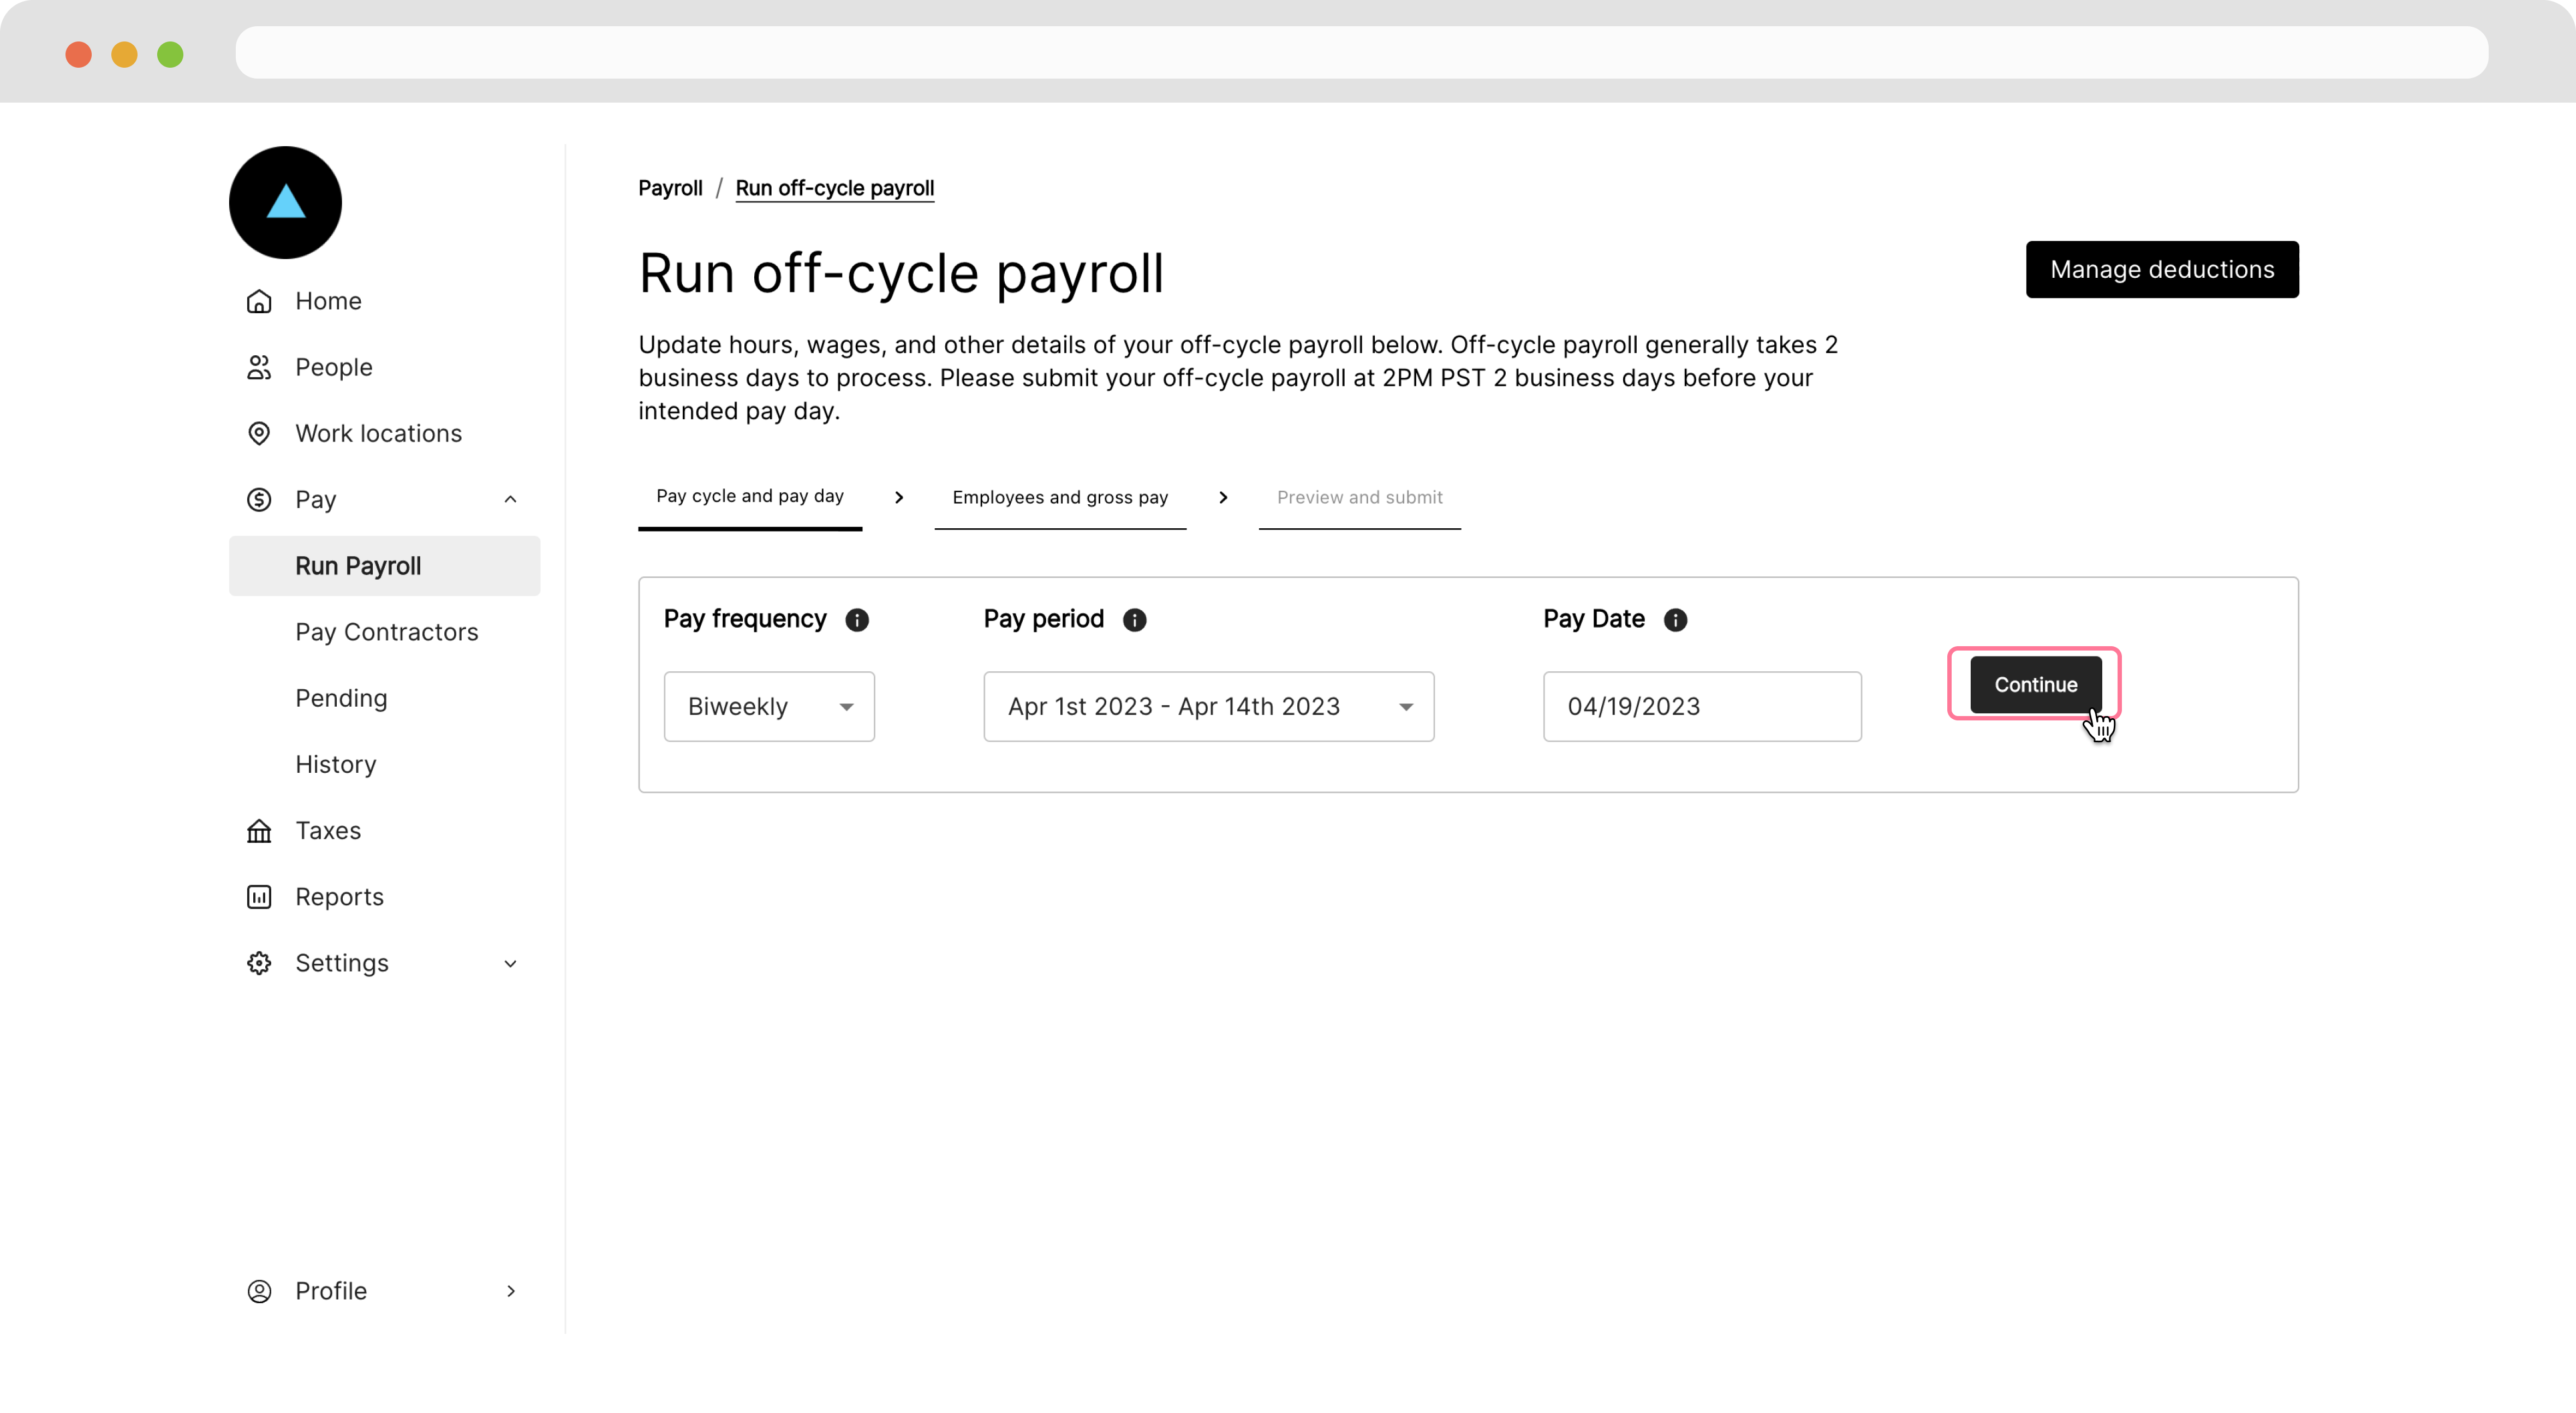
Next, select the Pay period and Pay date, then hit Continue.
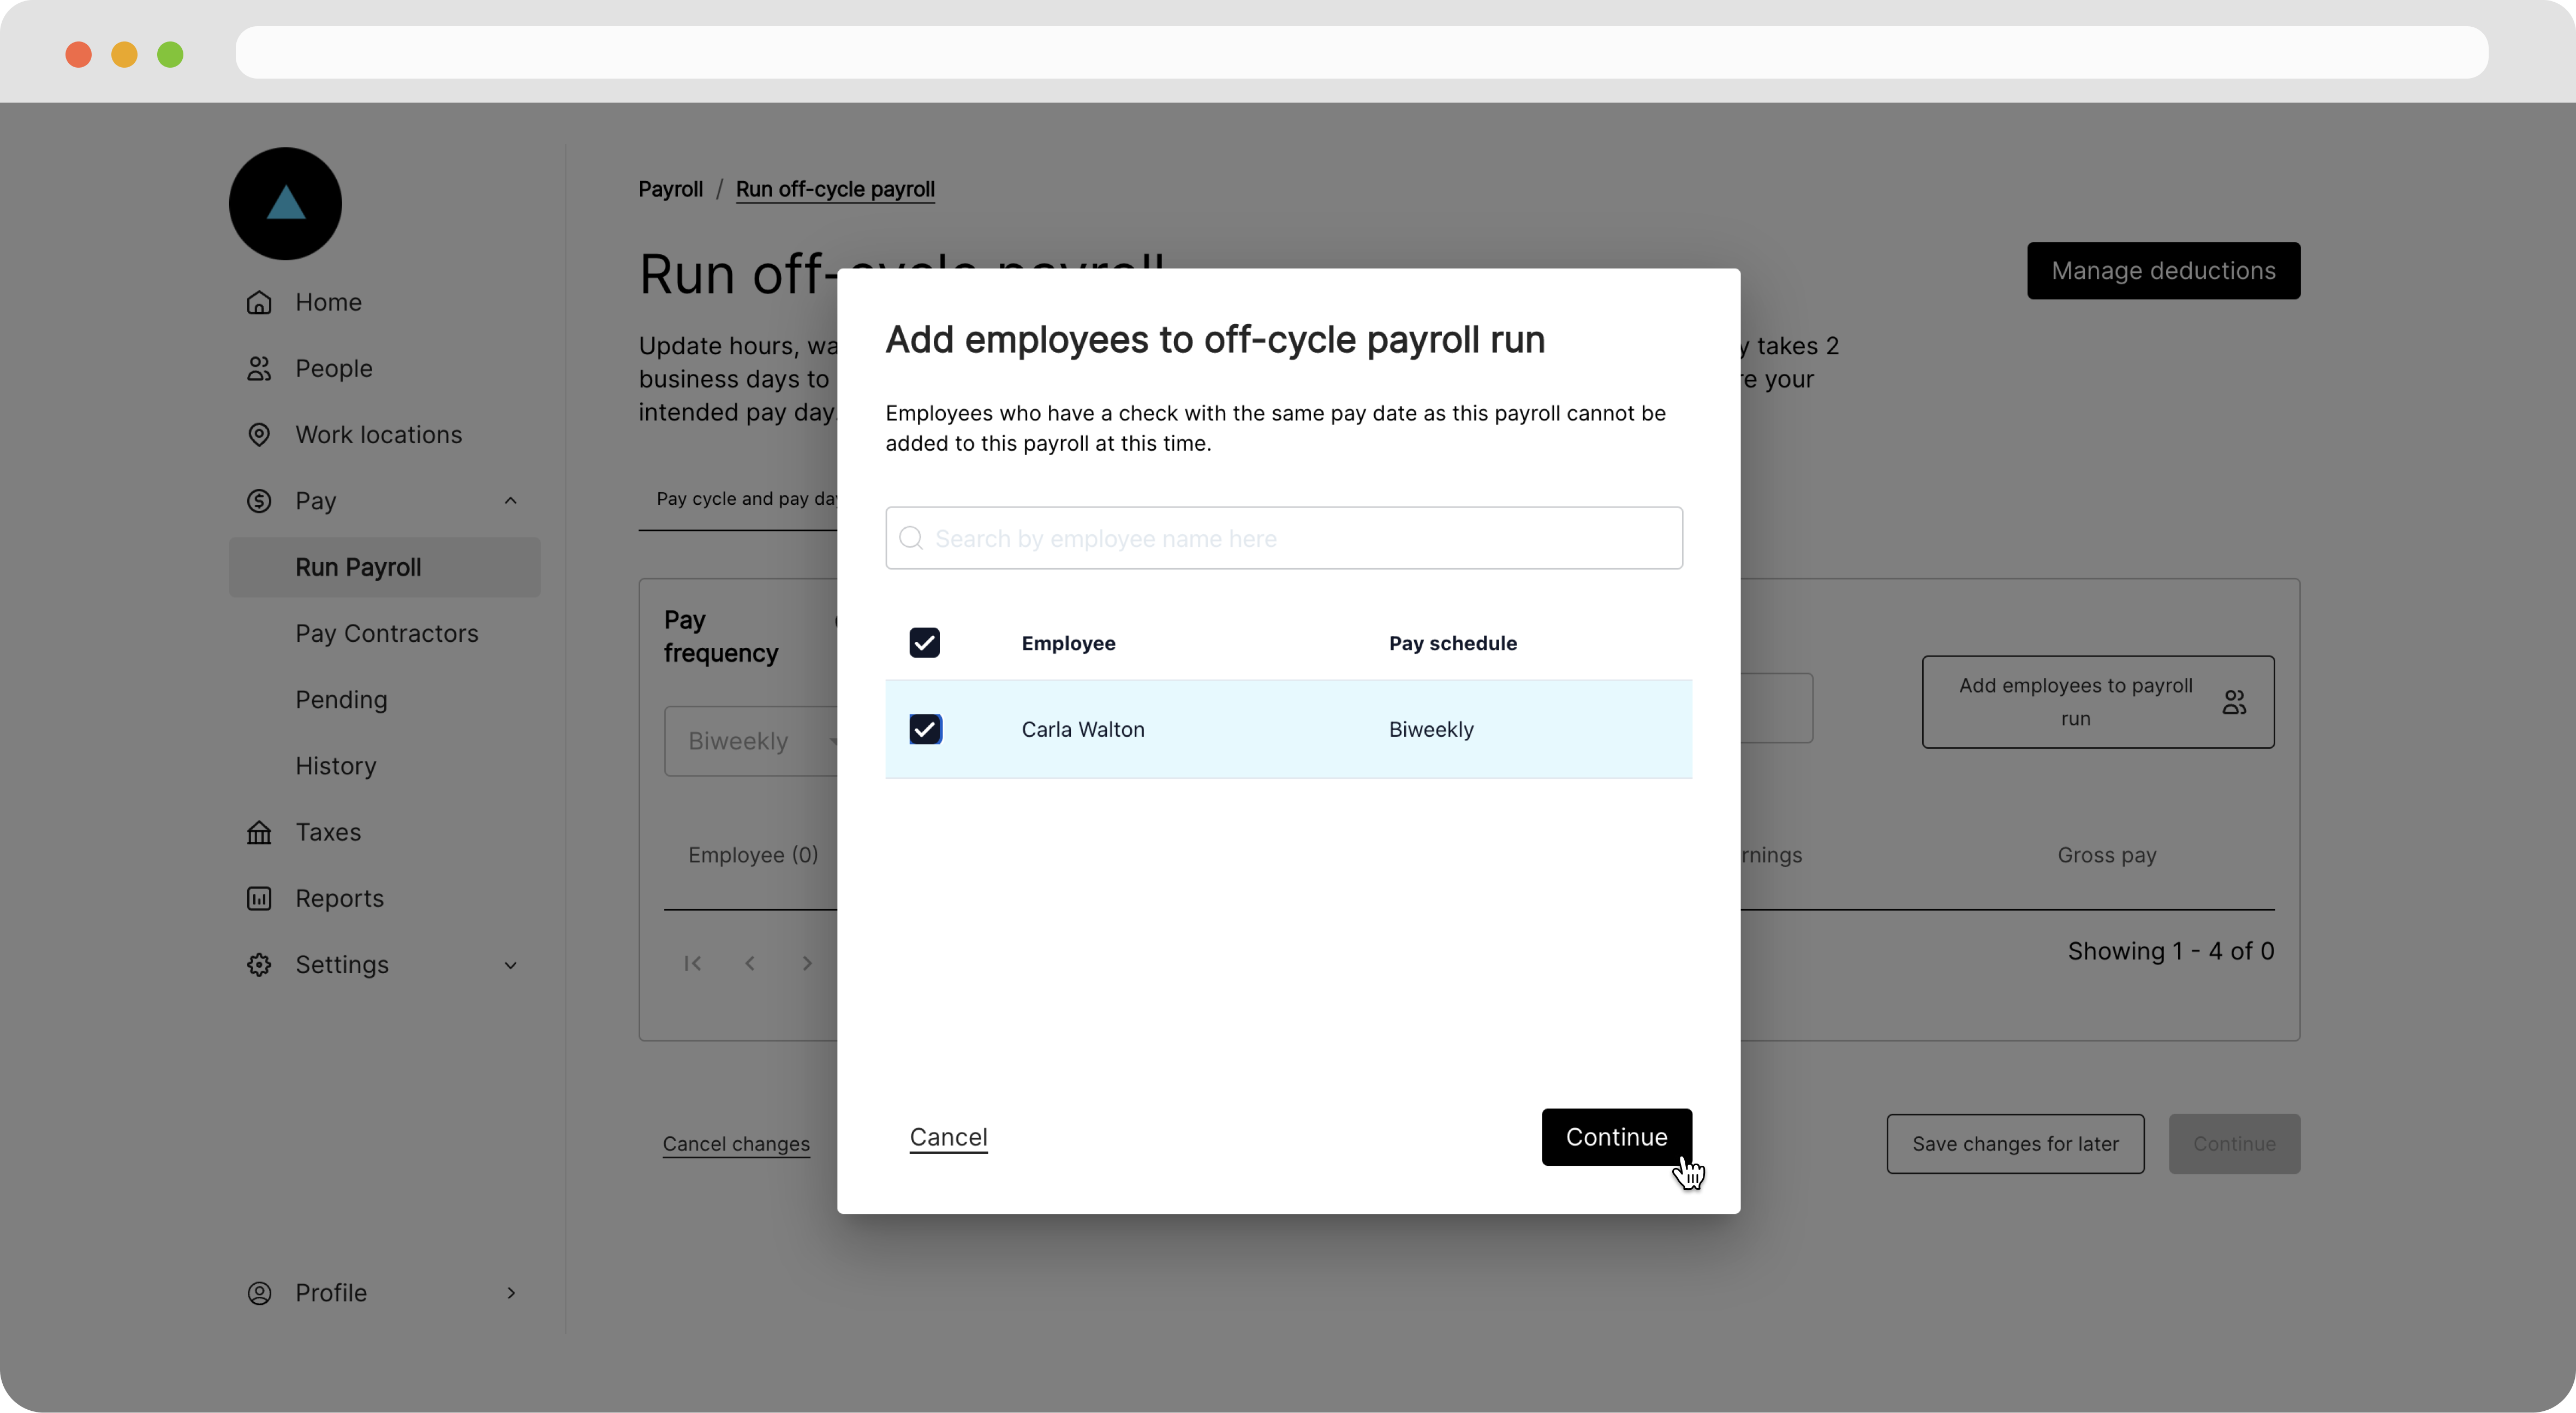
On the following page, click Add employees to payroll run.
In the modal that appears, we'll select our employee and hit Continue.
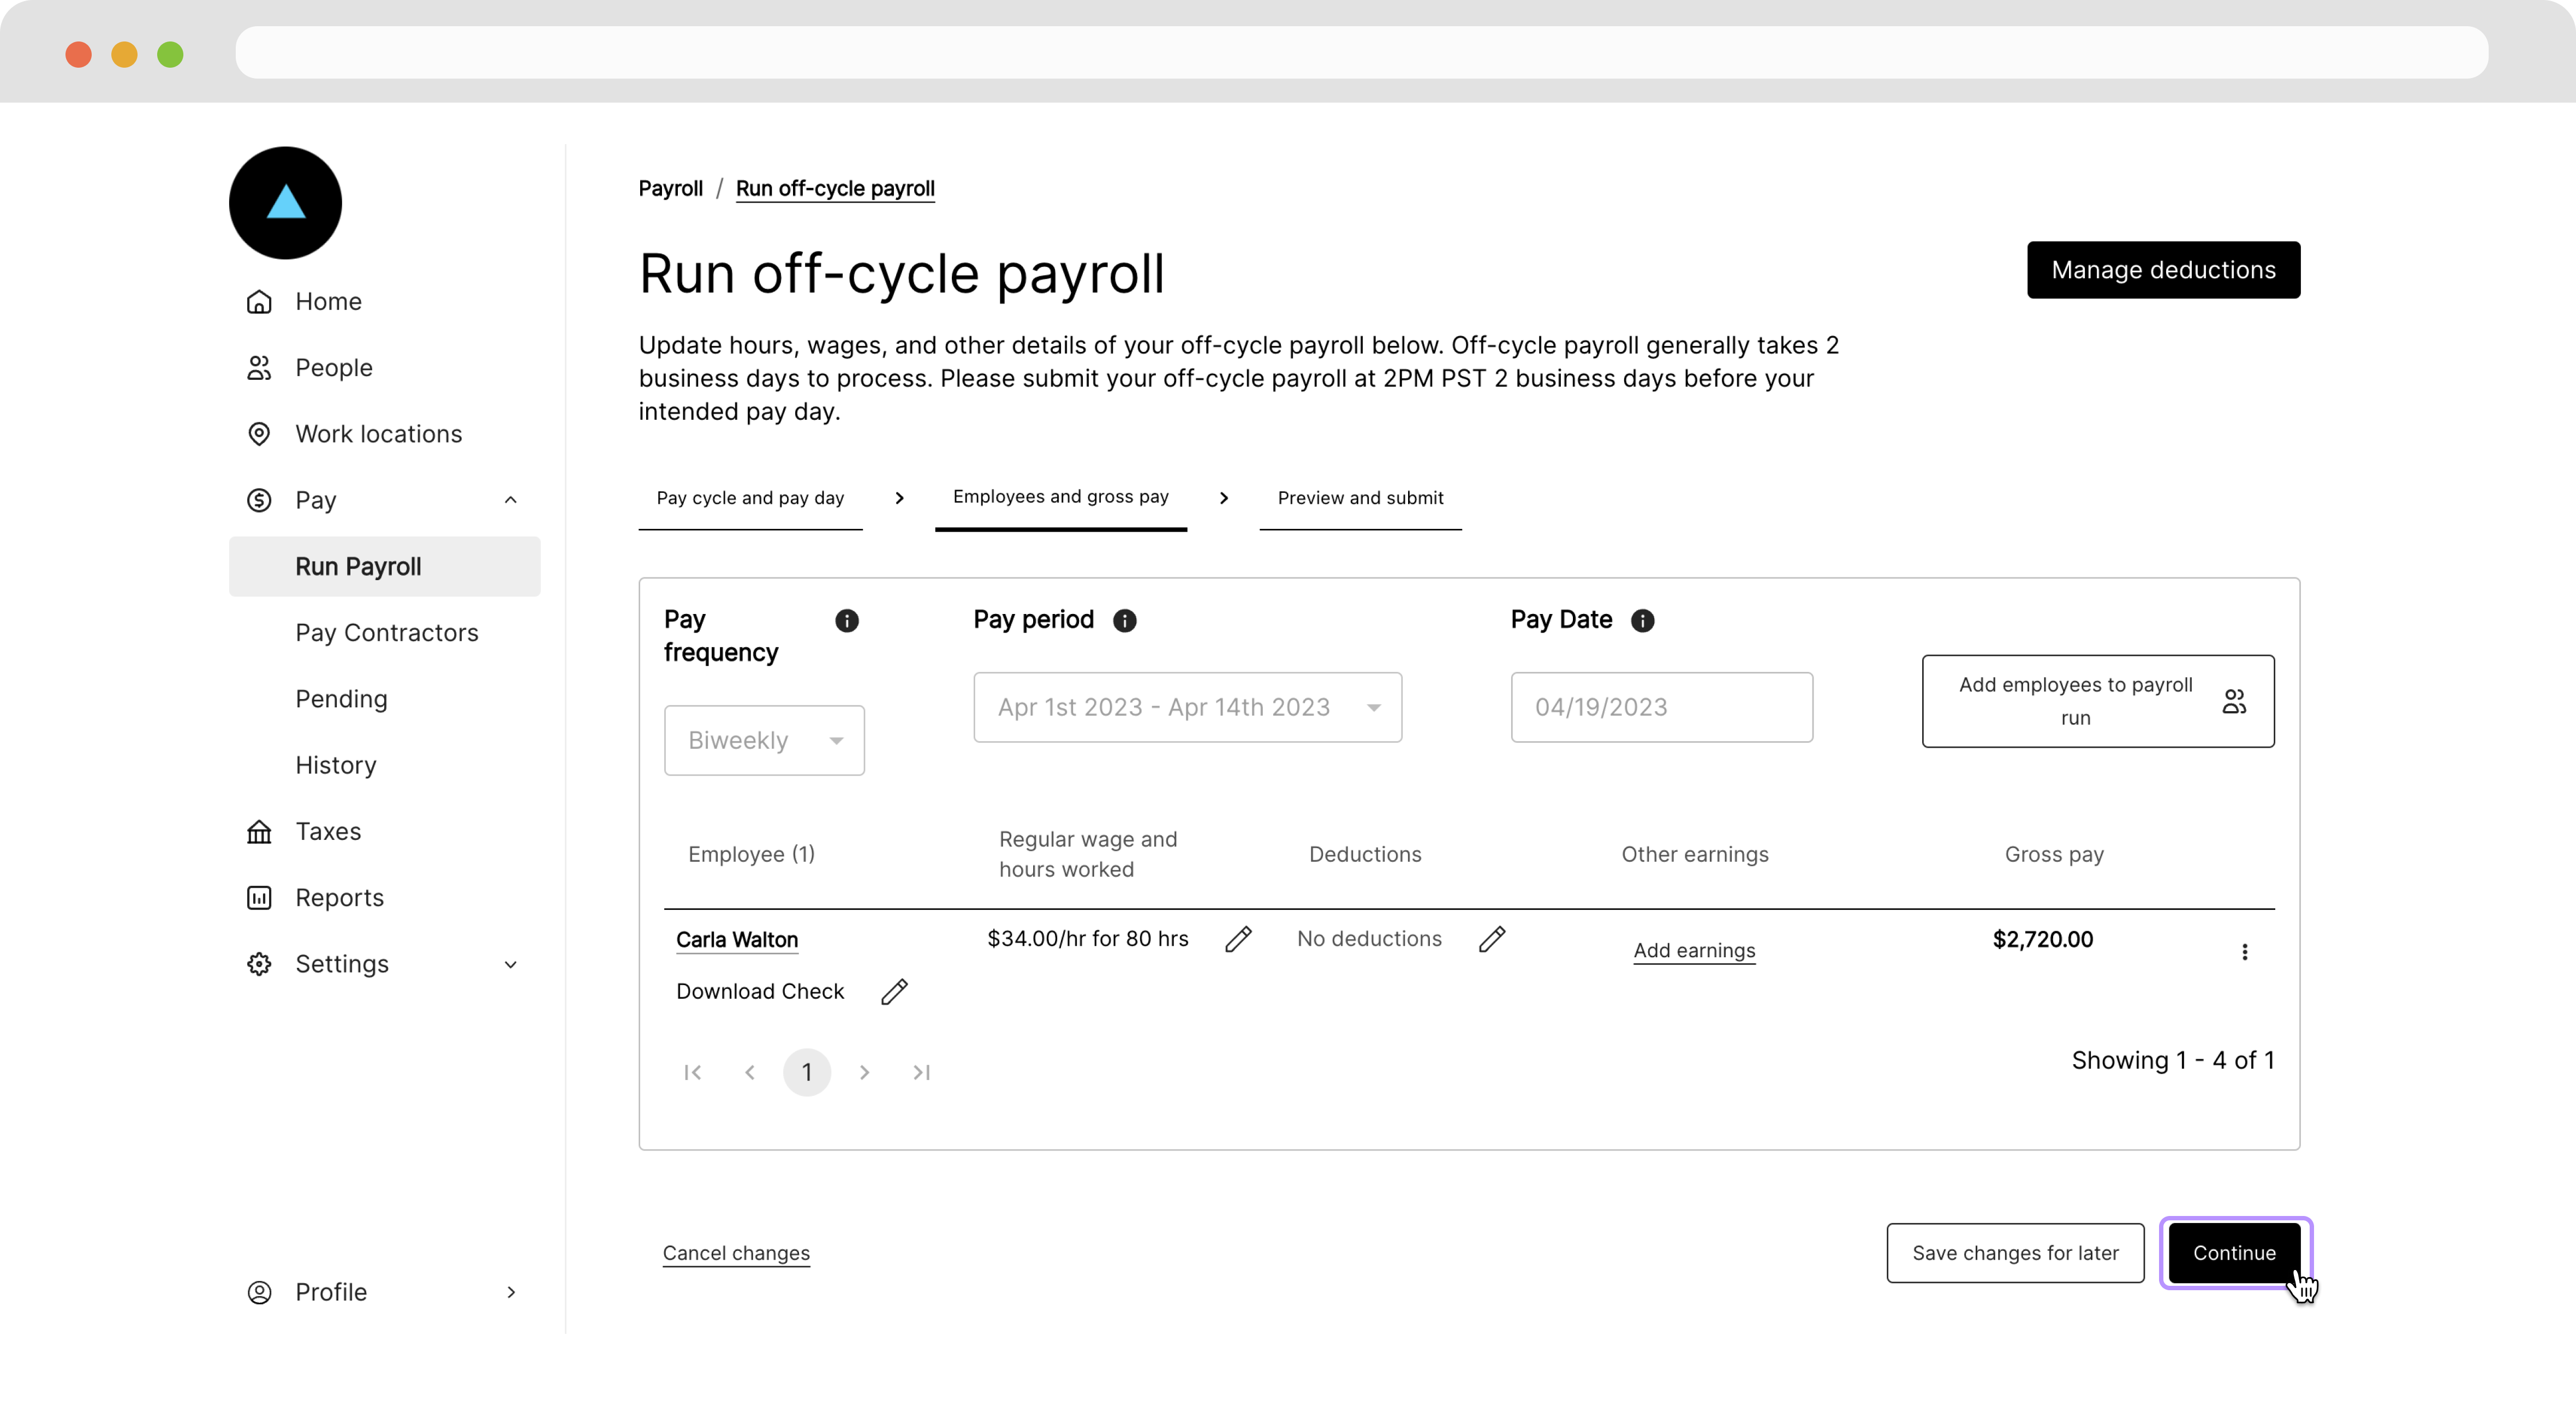
On the following page, we'll see a view of our payroll run with defaults based on employee's default wage and pay schedule.
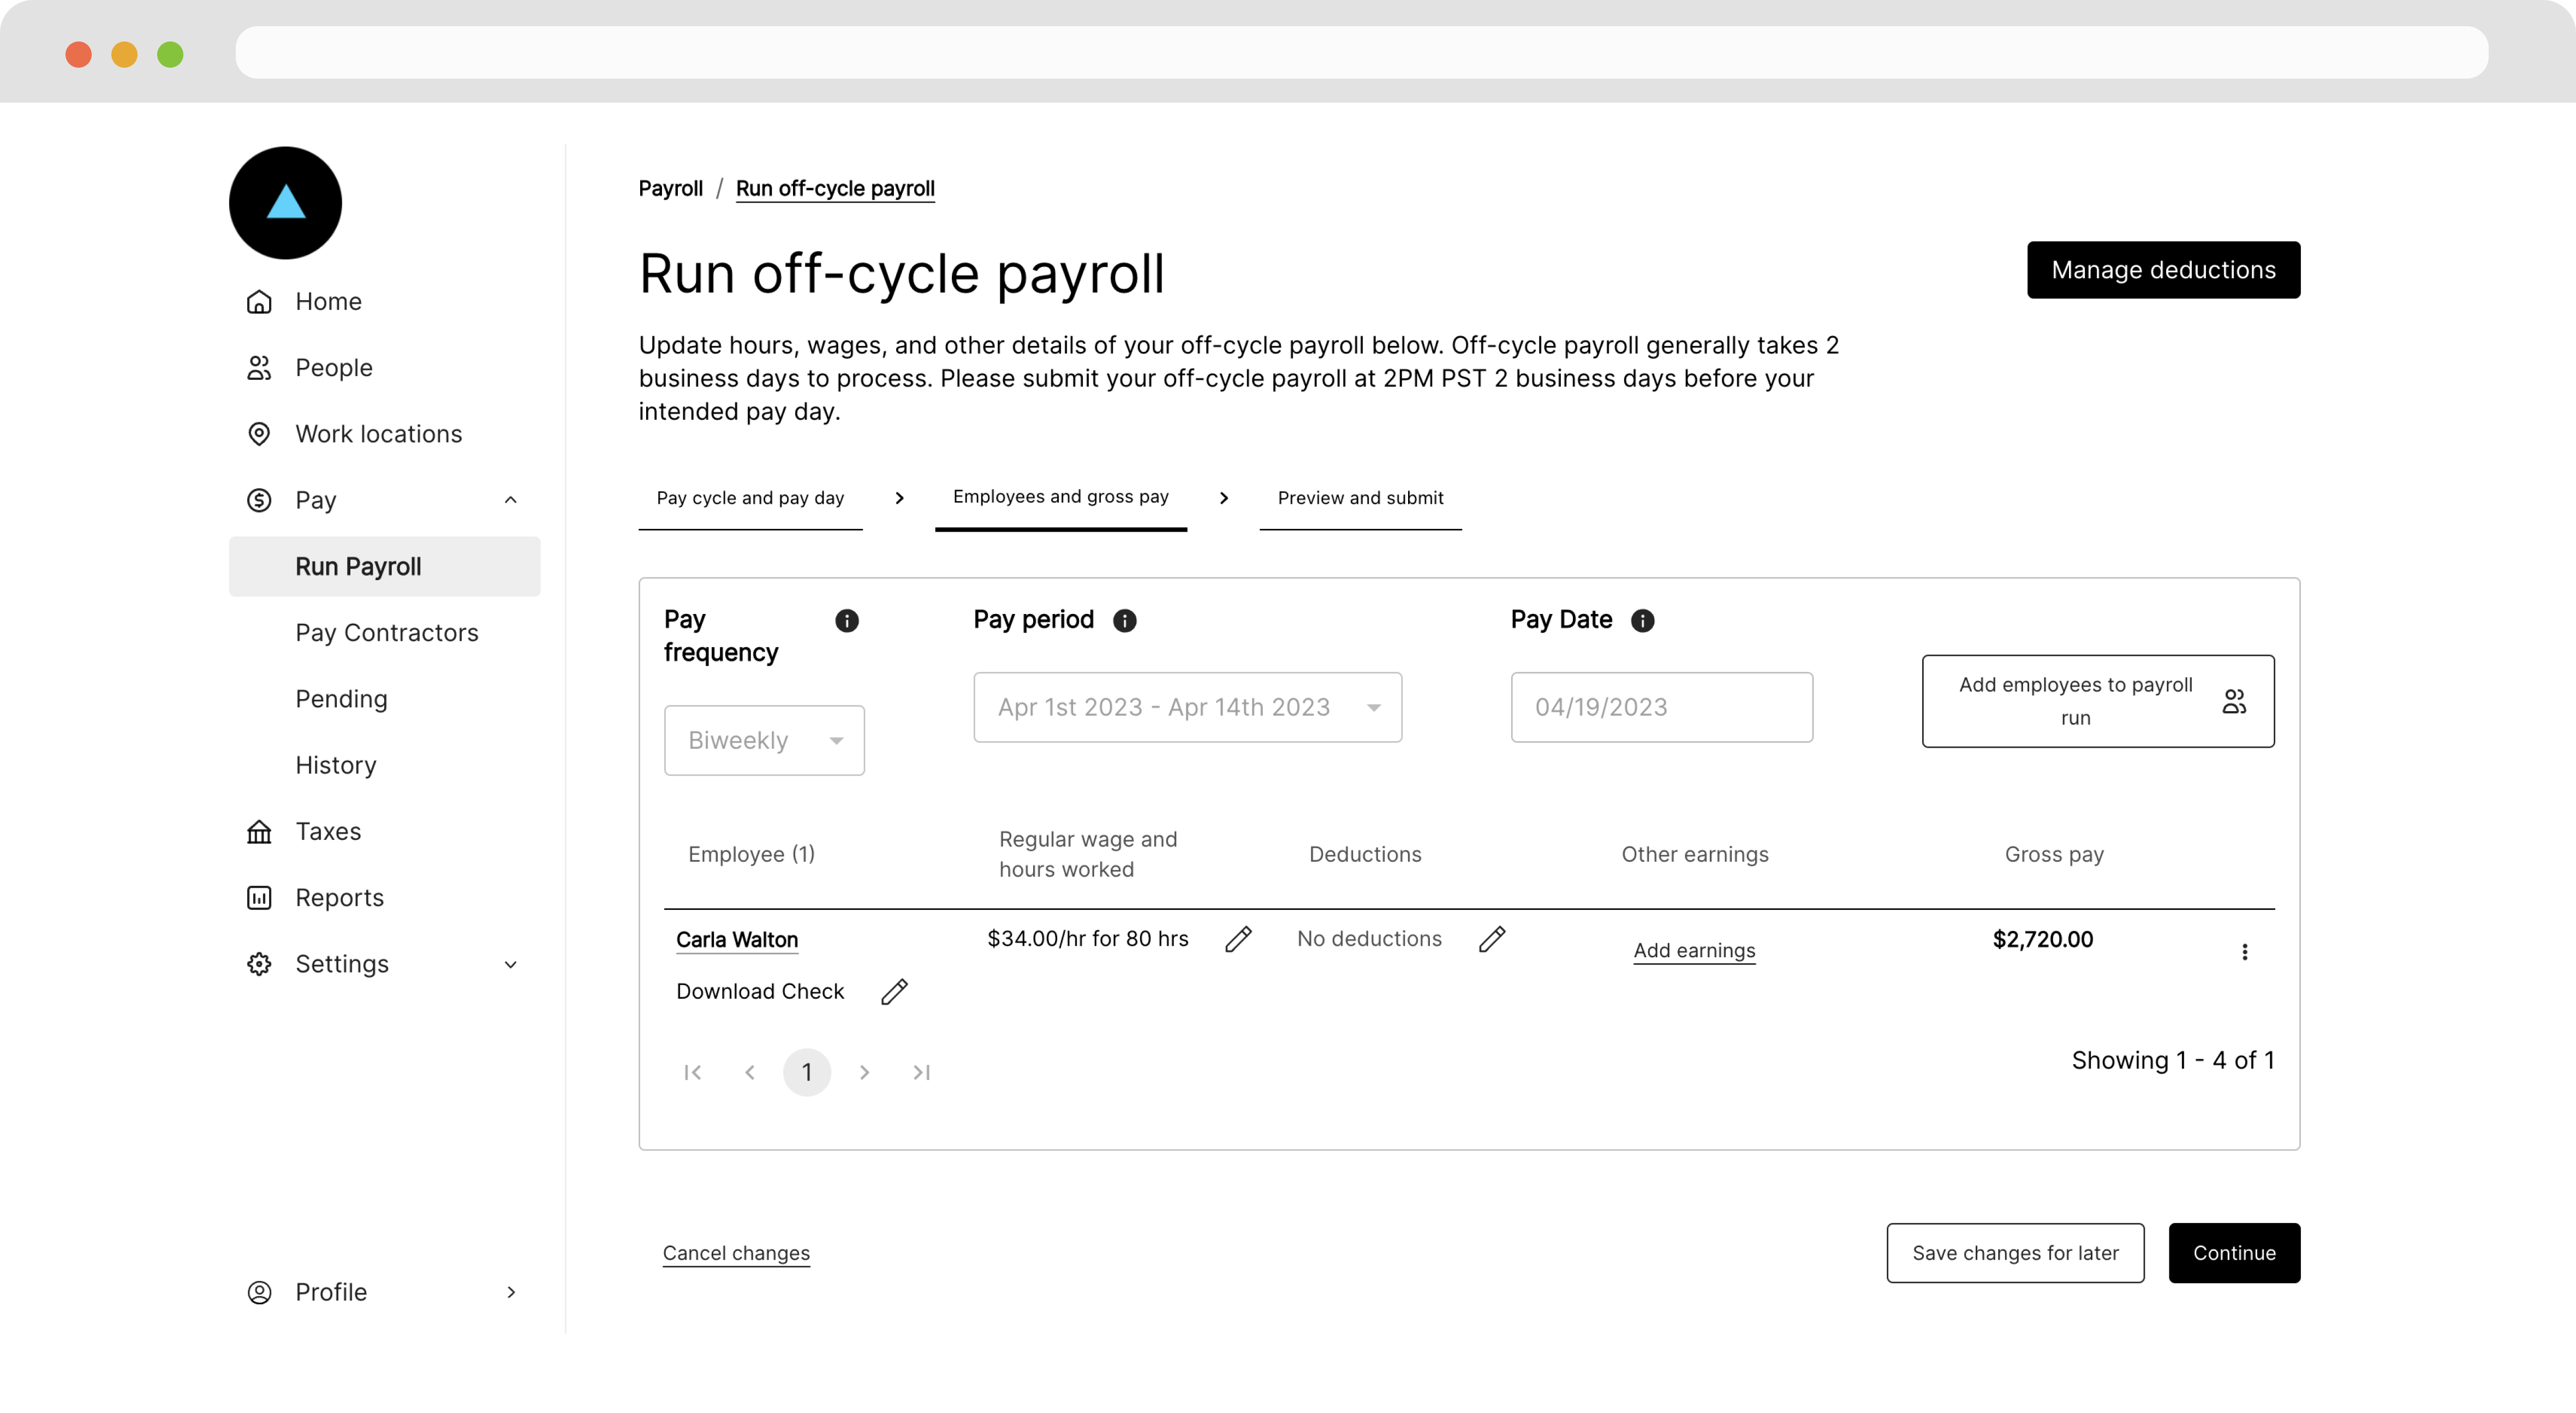
From this page, click Continue.
On the final page, click Submit payroll.
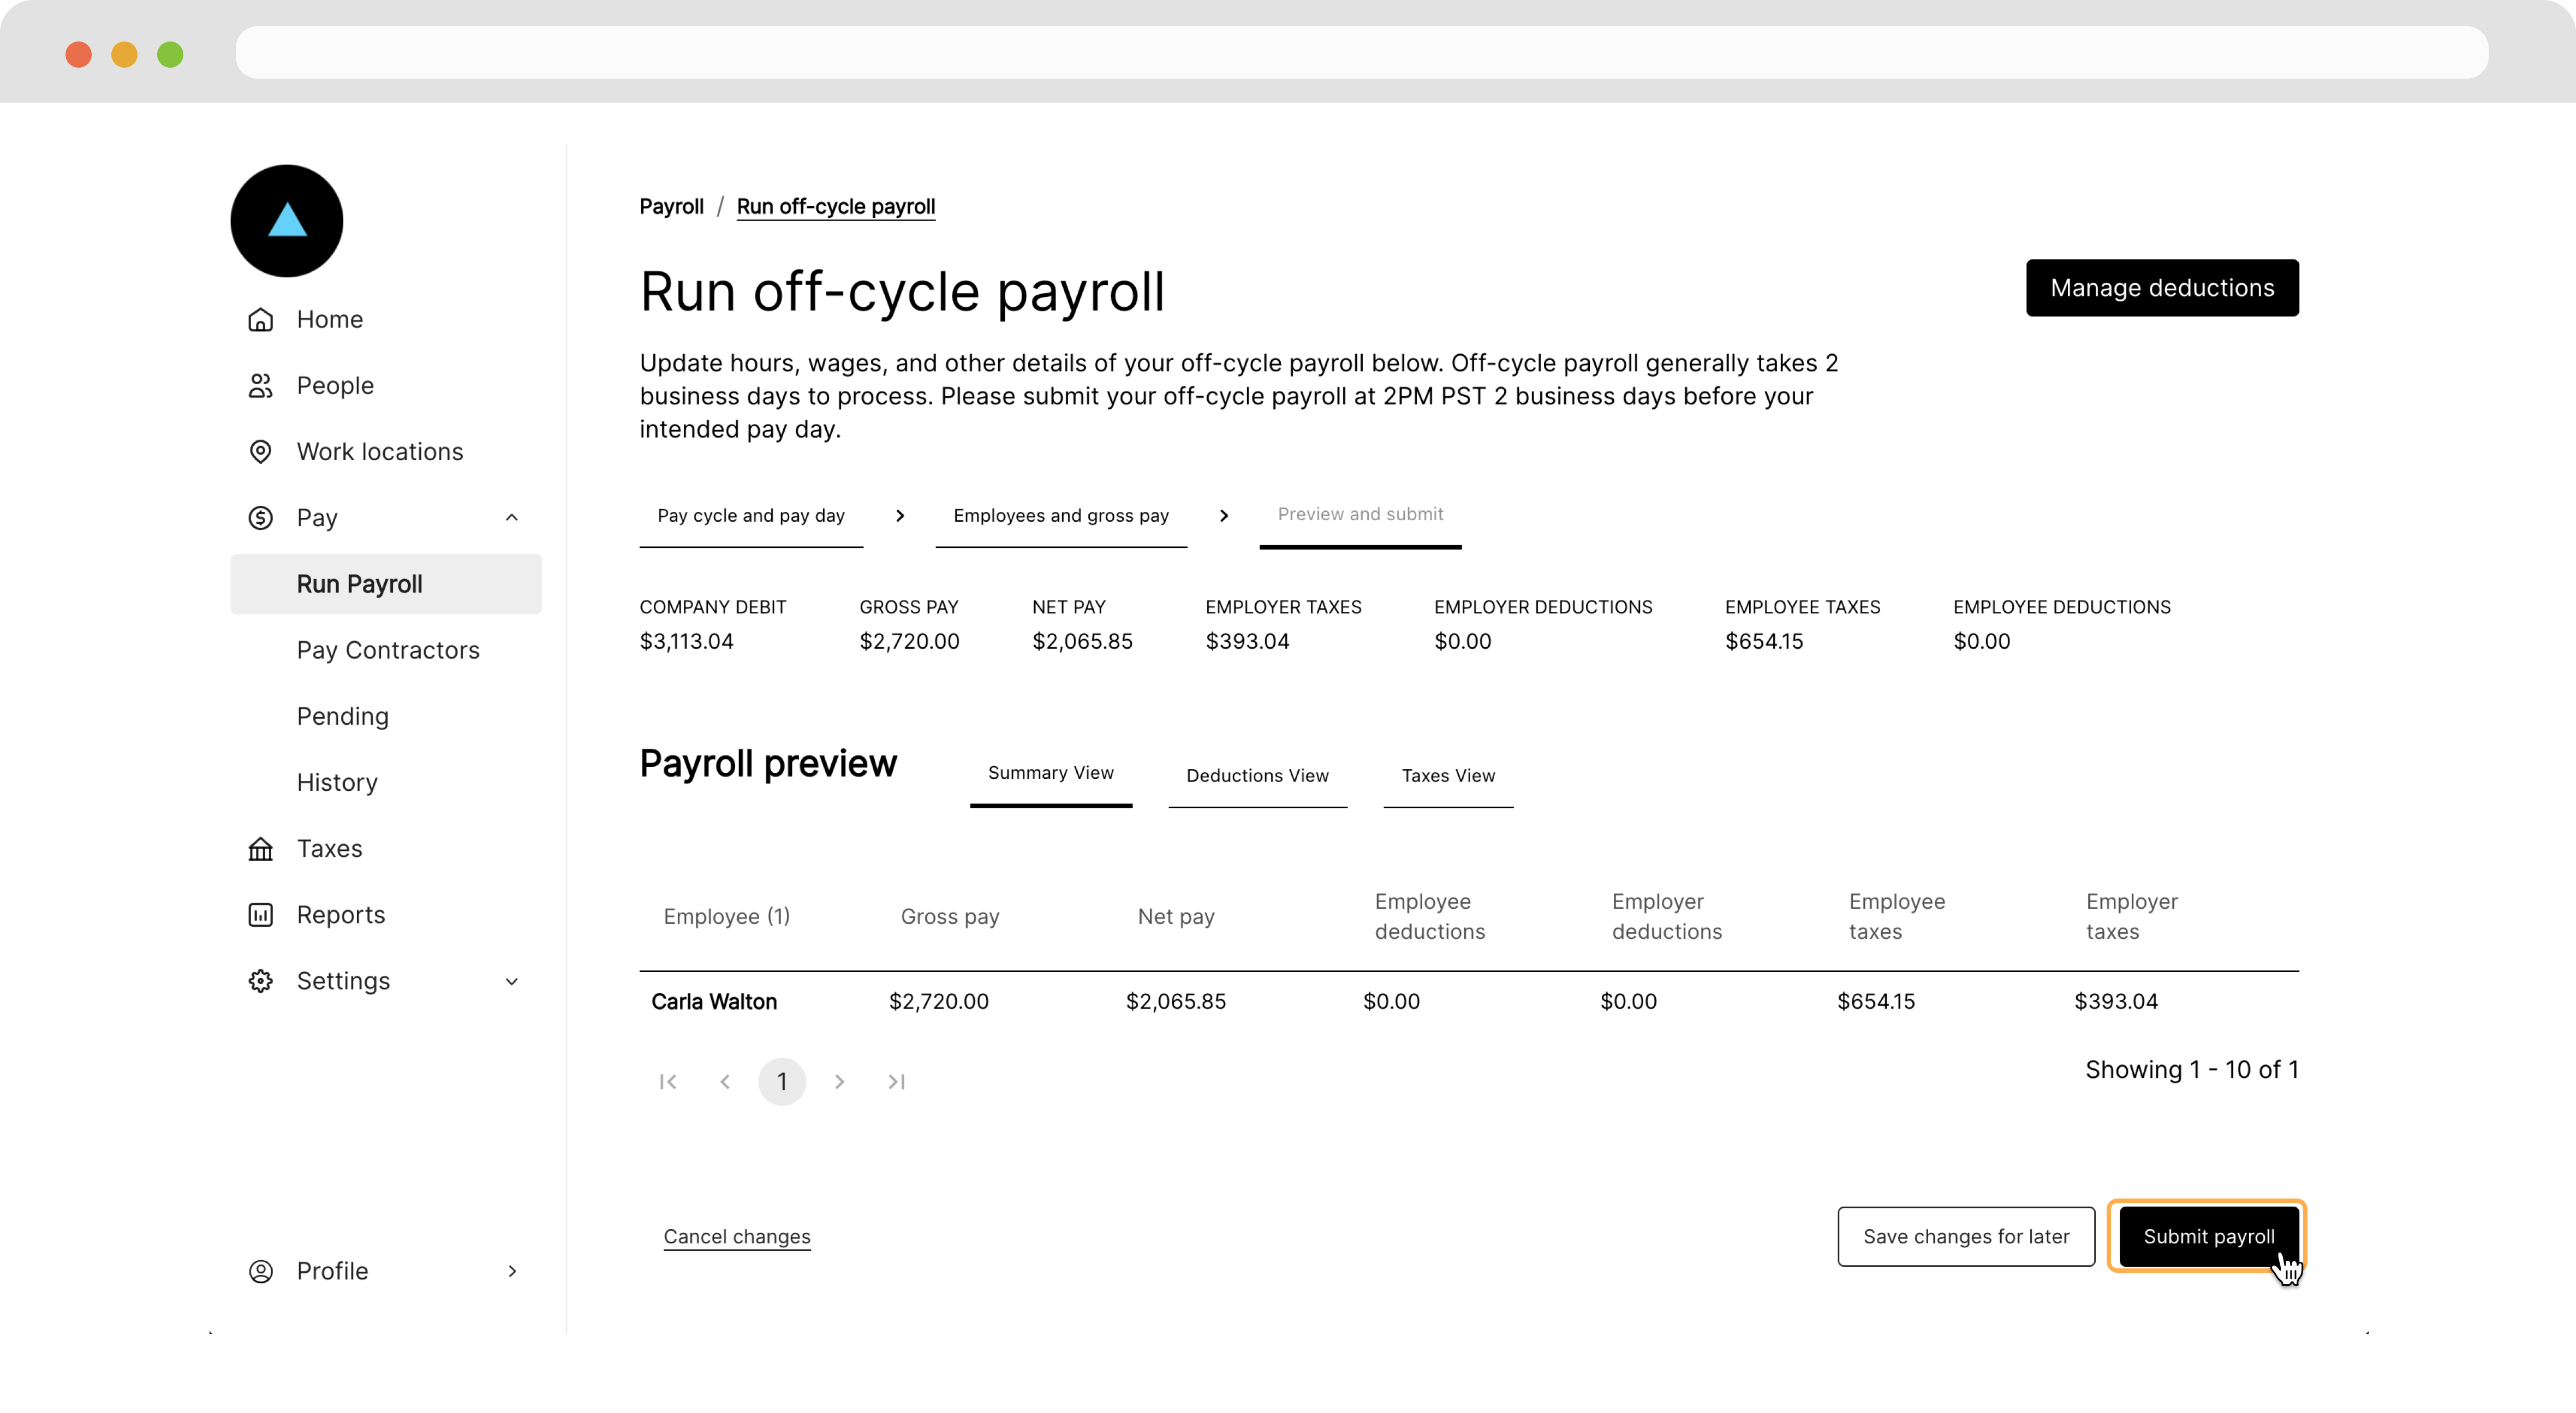
Once submitted, Zeal will finalize and process the payroll two business days before the pay date.
Recap
- The first step for our payroll solution is to onboard one or more Companies (employers).
- Before onboarding any Employees, a Company must have at least one Work Location.
- To run payroll, first onboard an Employee(s).
- With a Company and Employee(s) onboarded, payroll can be run from the Employer Dashboard.
Updated about 1 year ago
What’s Next
Now that you've successfully created your first payroll run, learn more about the core components in the following guides!